I didn’t have any contact points with any ergonomic or split keyboards until recently, but I got recommended some videos and it looked intriguing. So I watched more and tried to build my own, mostly for fun (and because they’re programmable, I love customizing everything). I thought about just getting a prebuilt one or ordering parts for the corne, but they are hella expensive (just for trying it out I didn’t want to pay more than 100-150€) and most of the existing open source keyboards either didn’t fit my hands or had something else I didn’t like about them. So I just used ergogen to build my own, thanks Ben Vallack and others! :D
And now it’s finally done!
Features/Specs
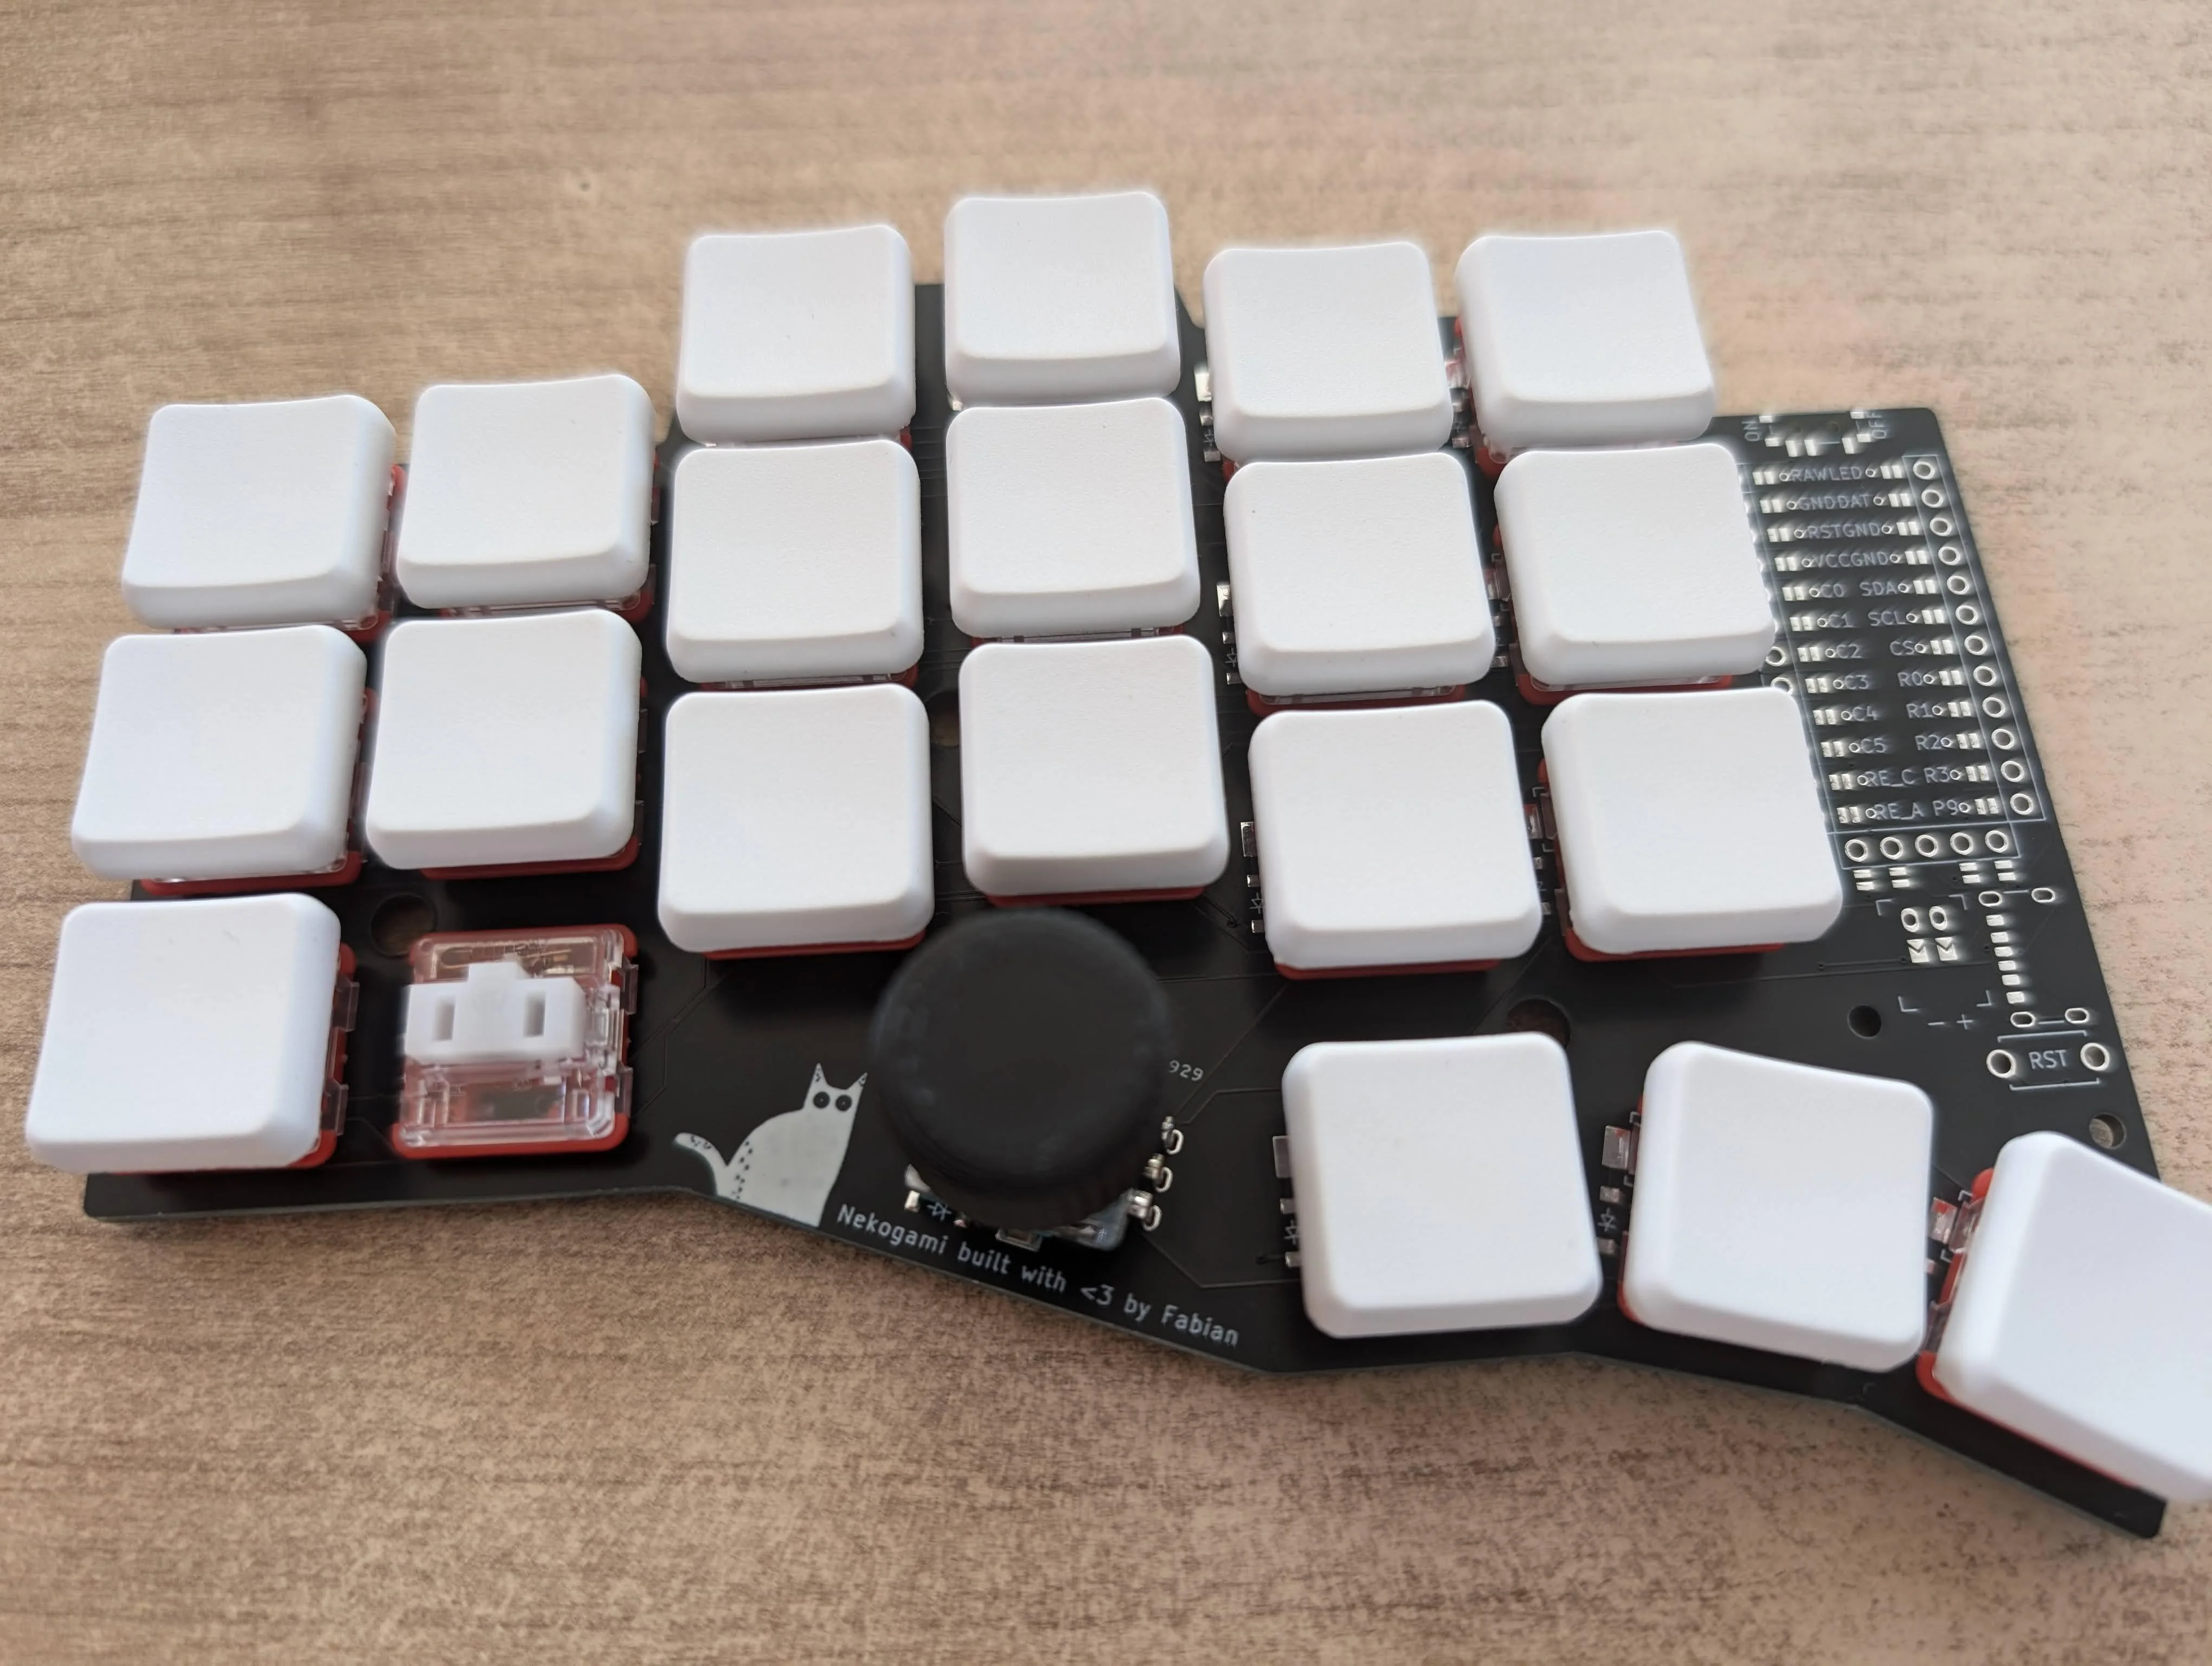
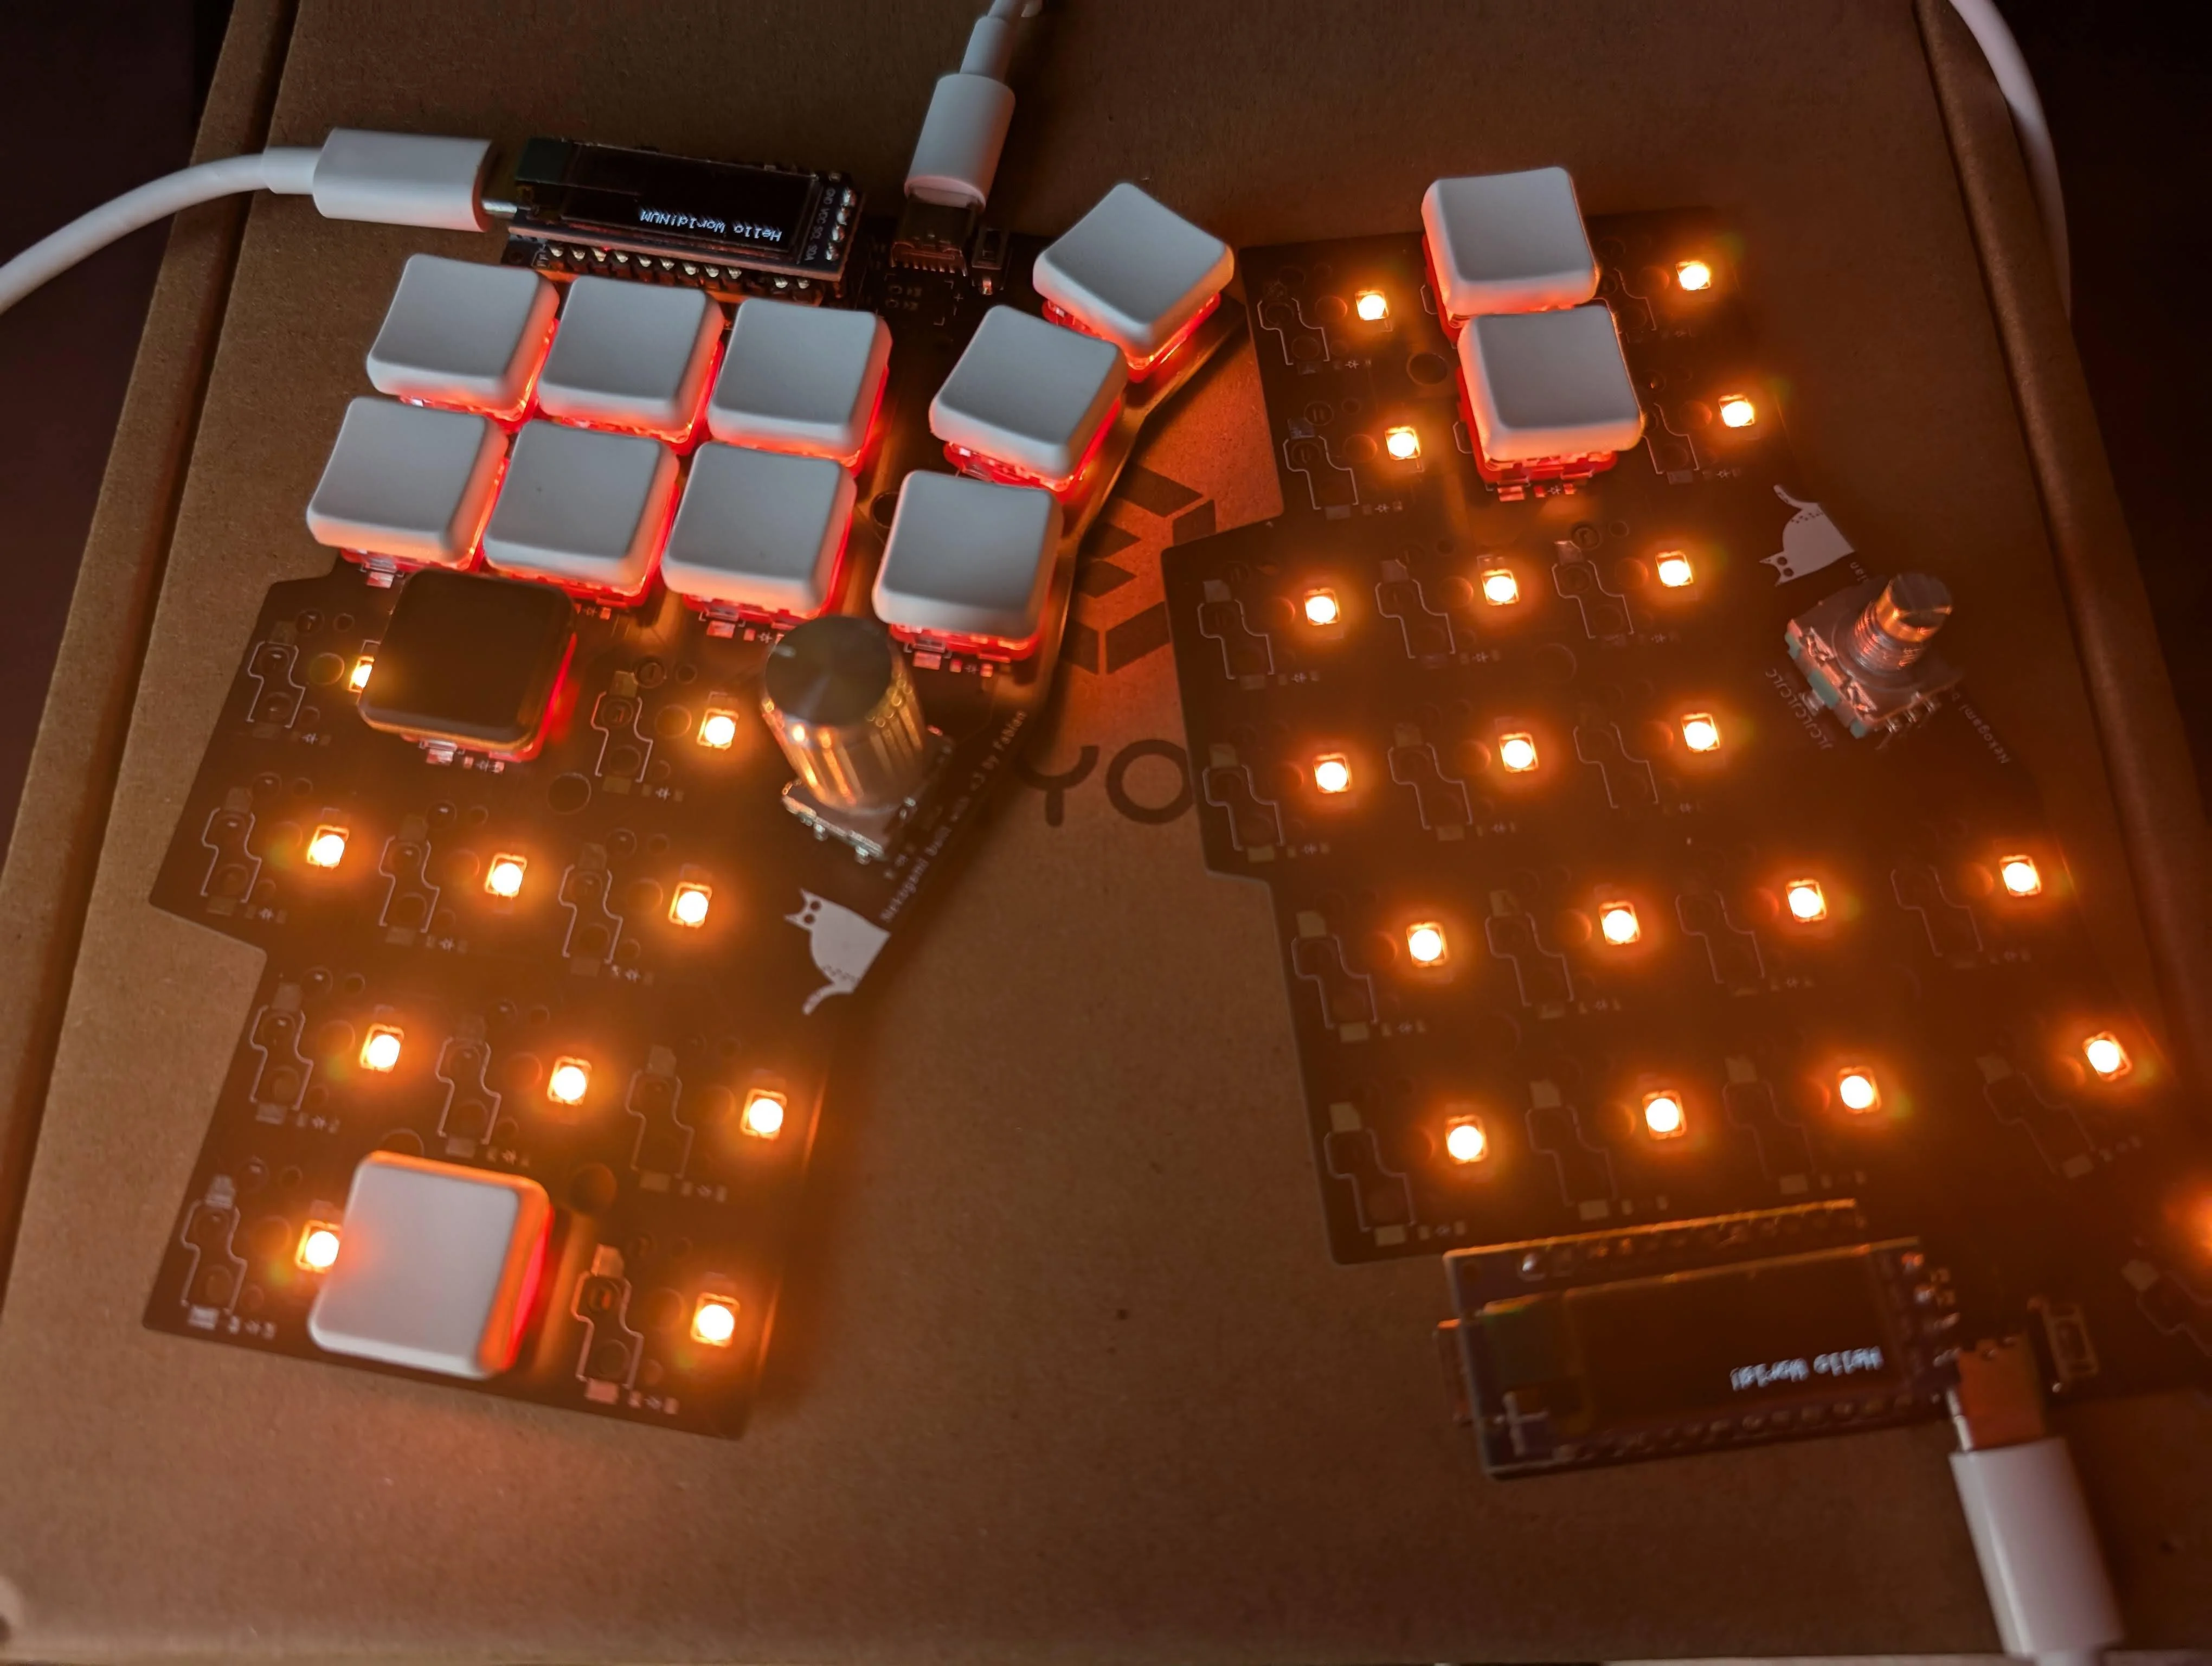
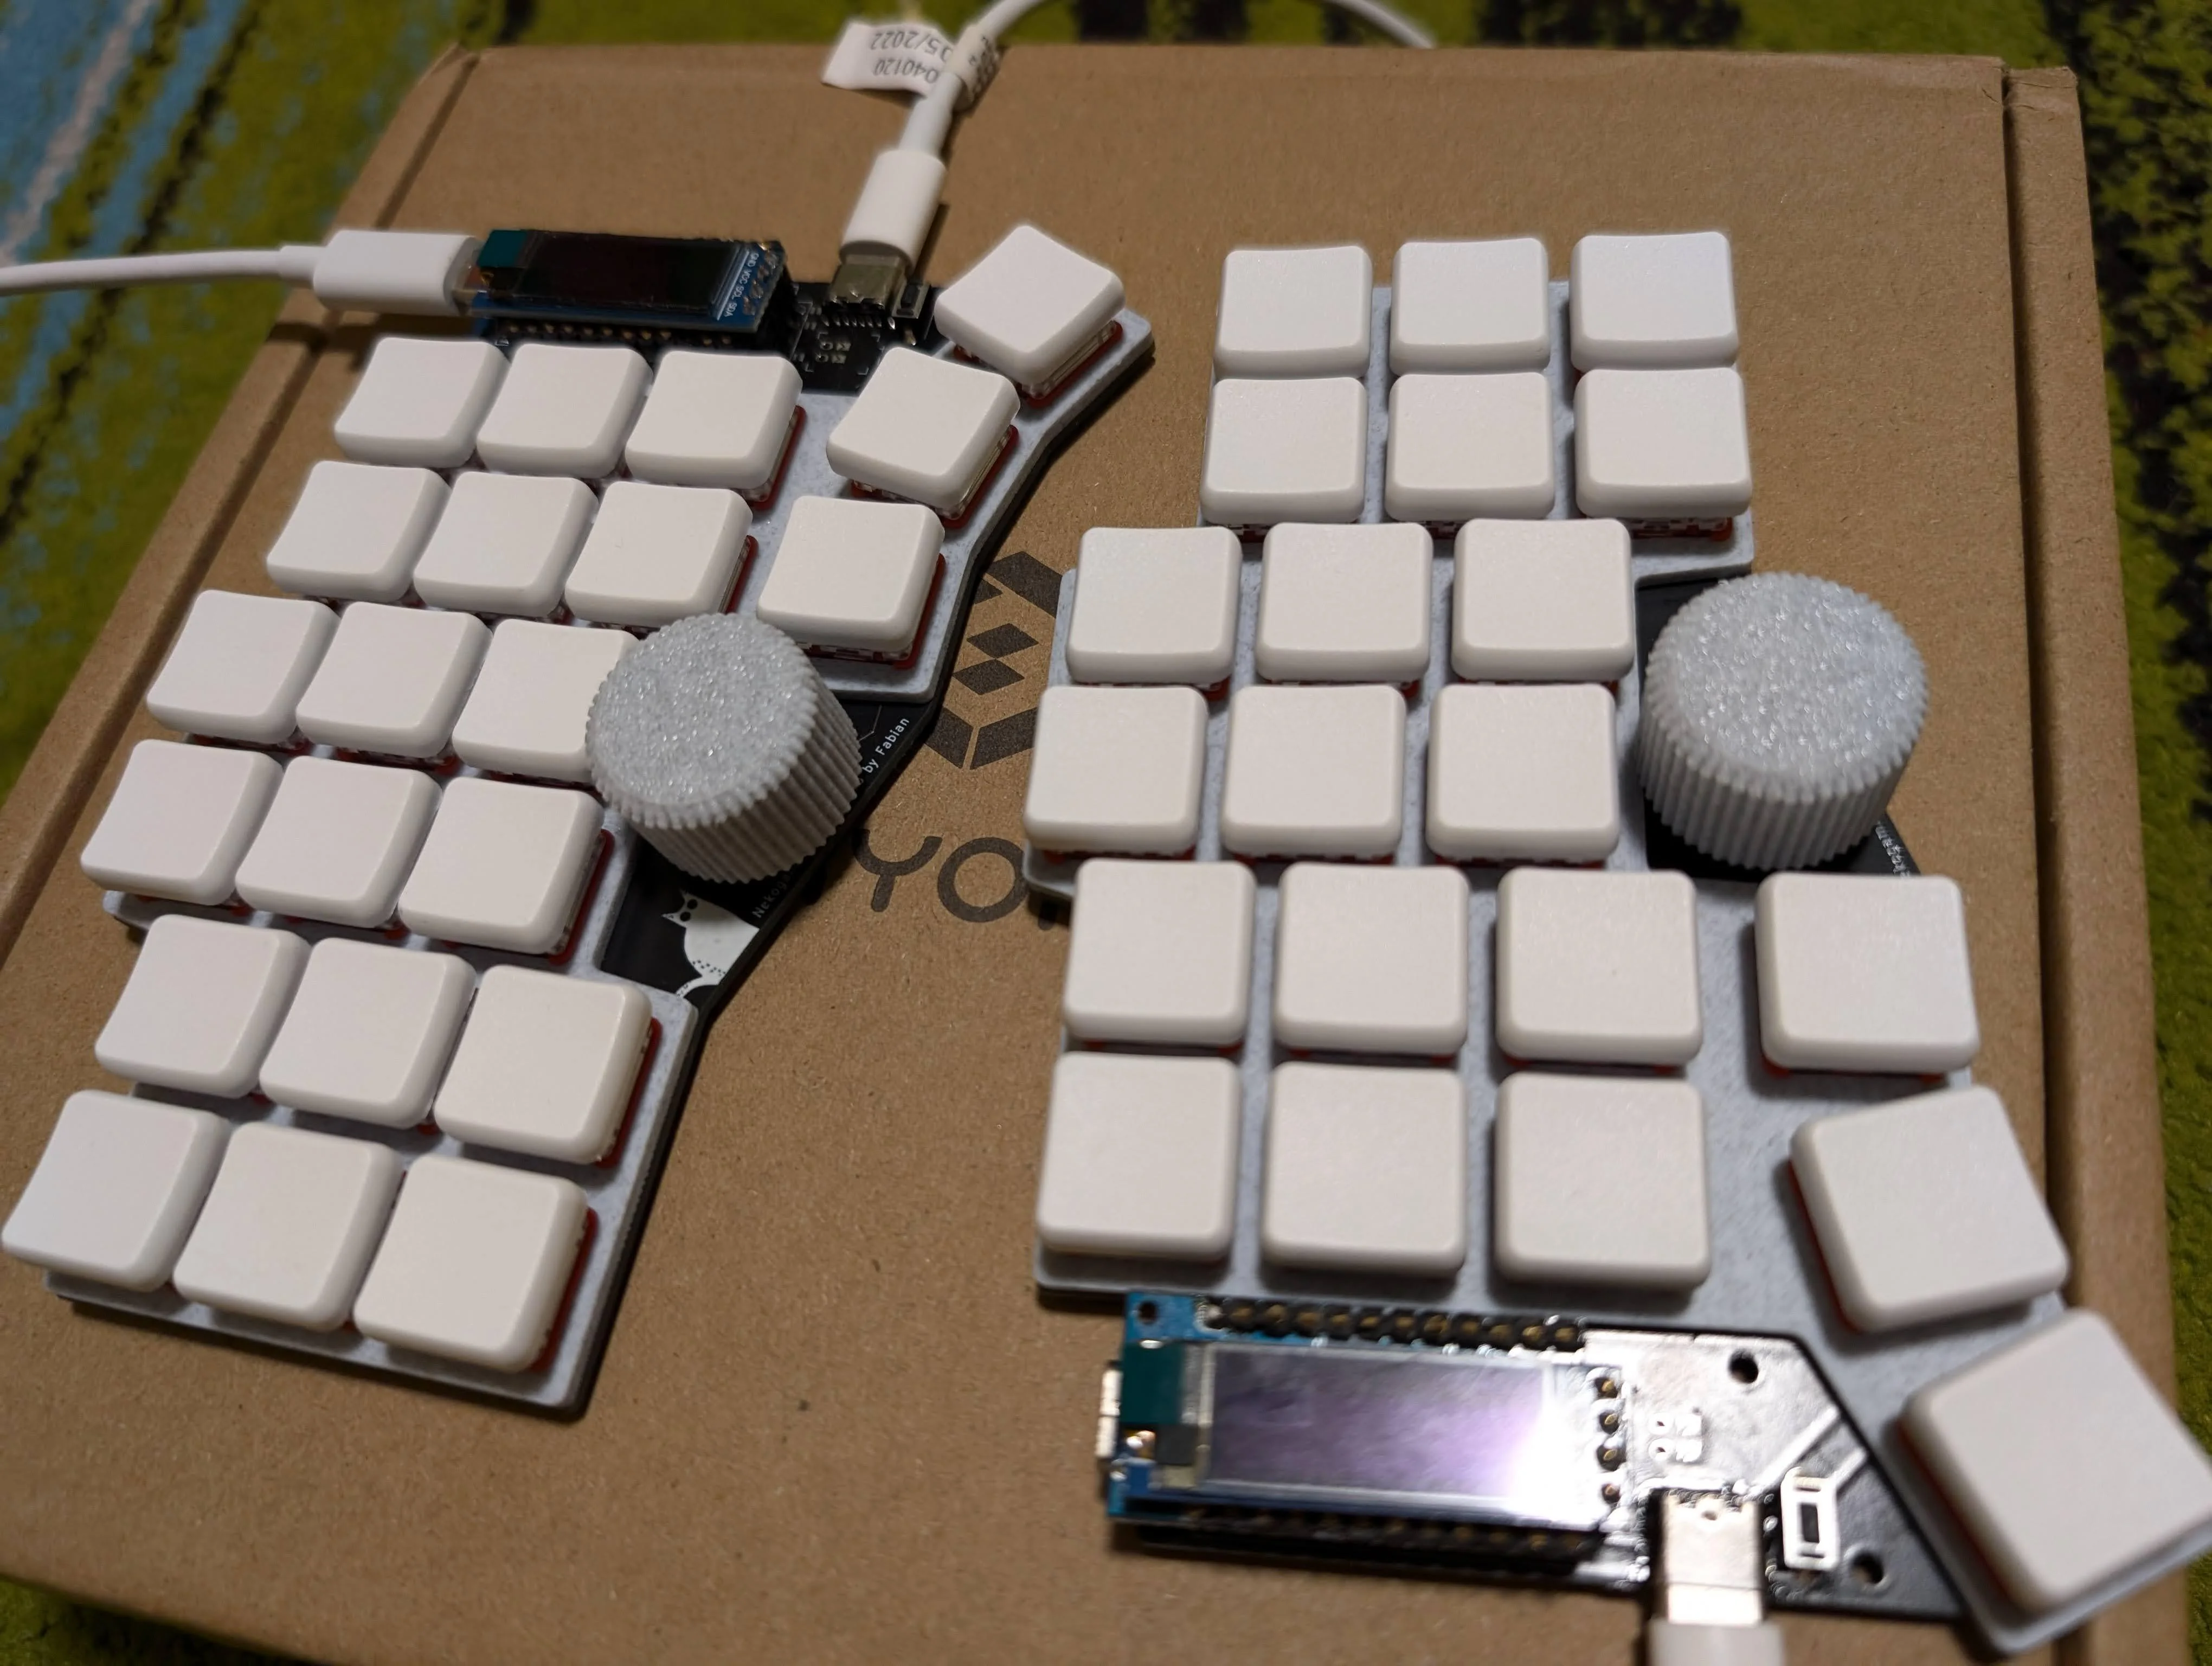
- 42 keys, split
- Kailh Red Pro 35g switches (wanted Ambients Twilight, but these were twice the price, not worth it just for prototyping)
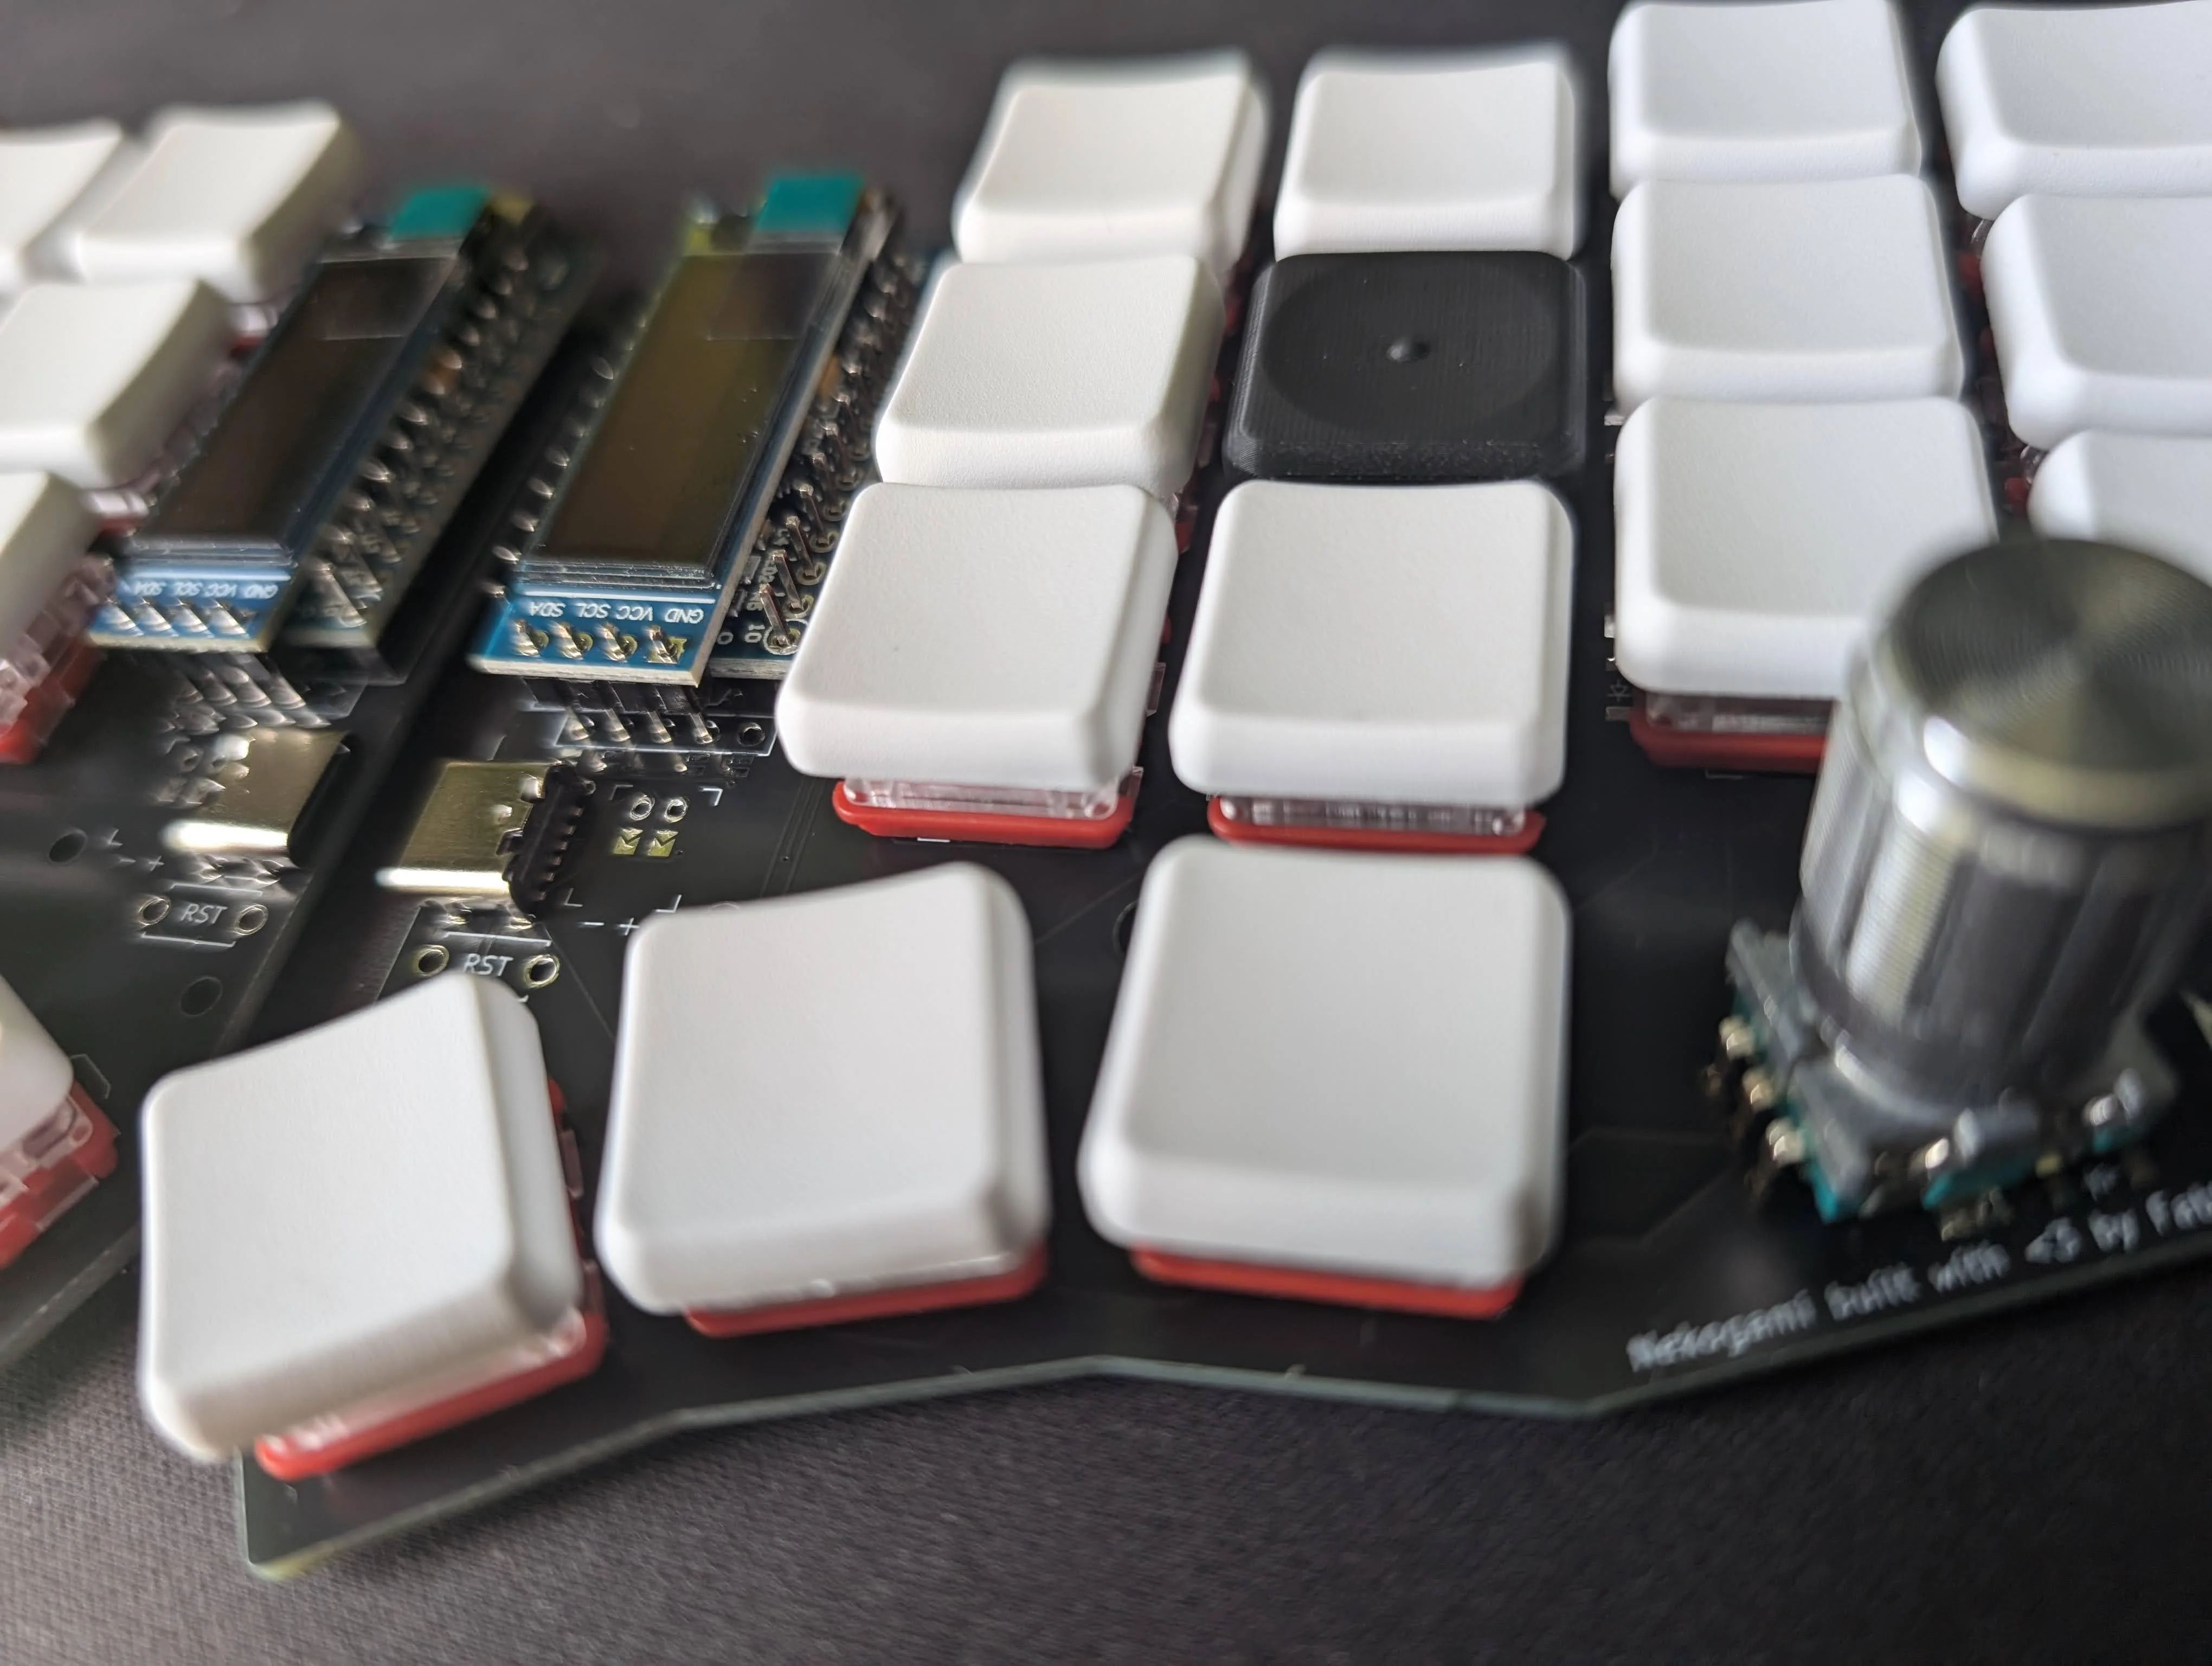
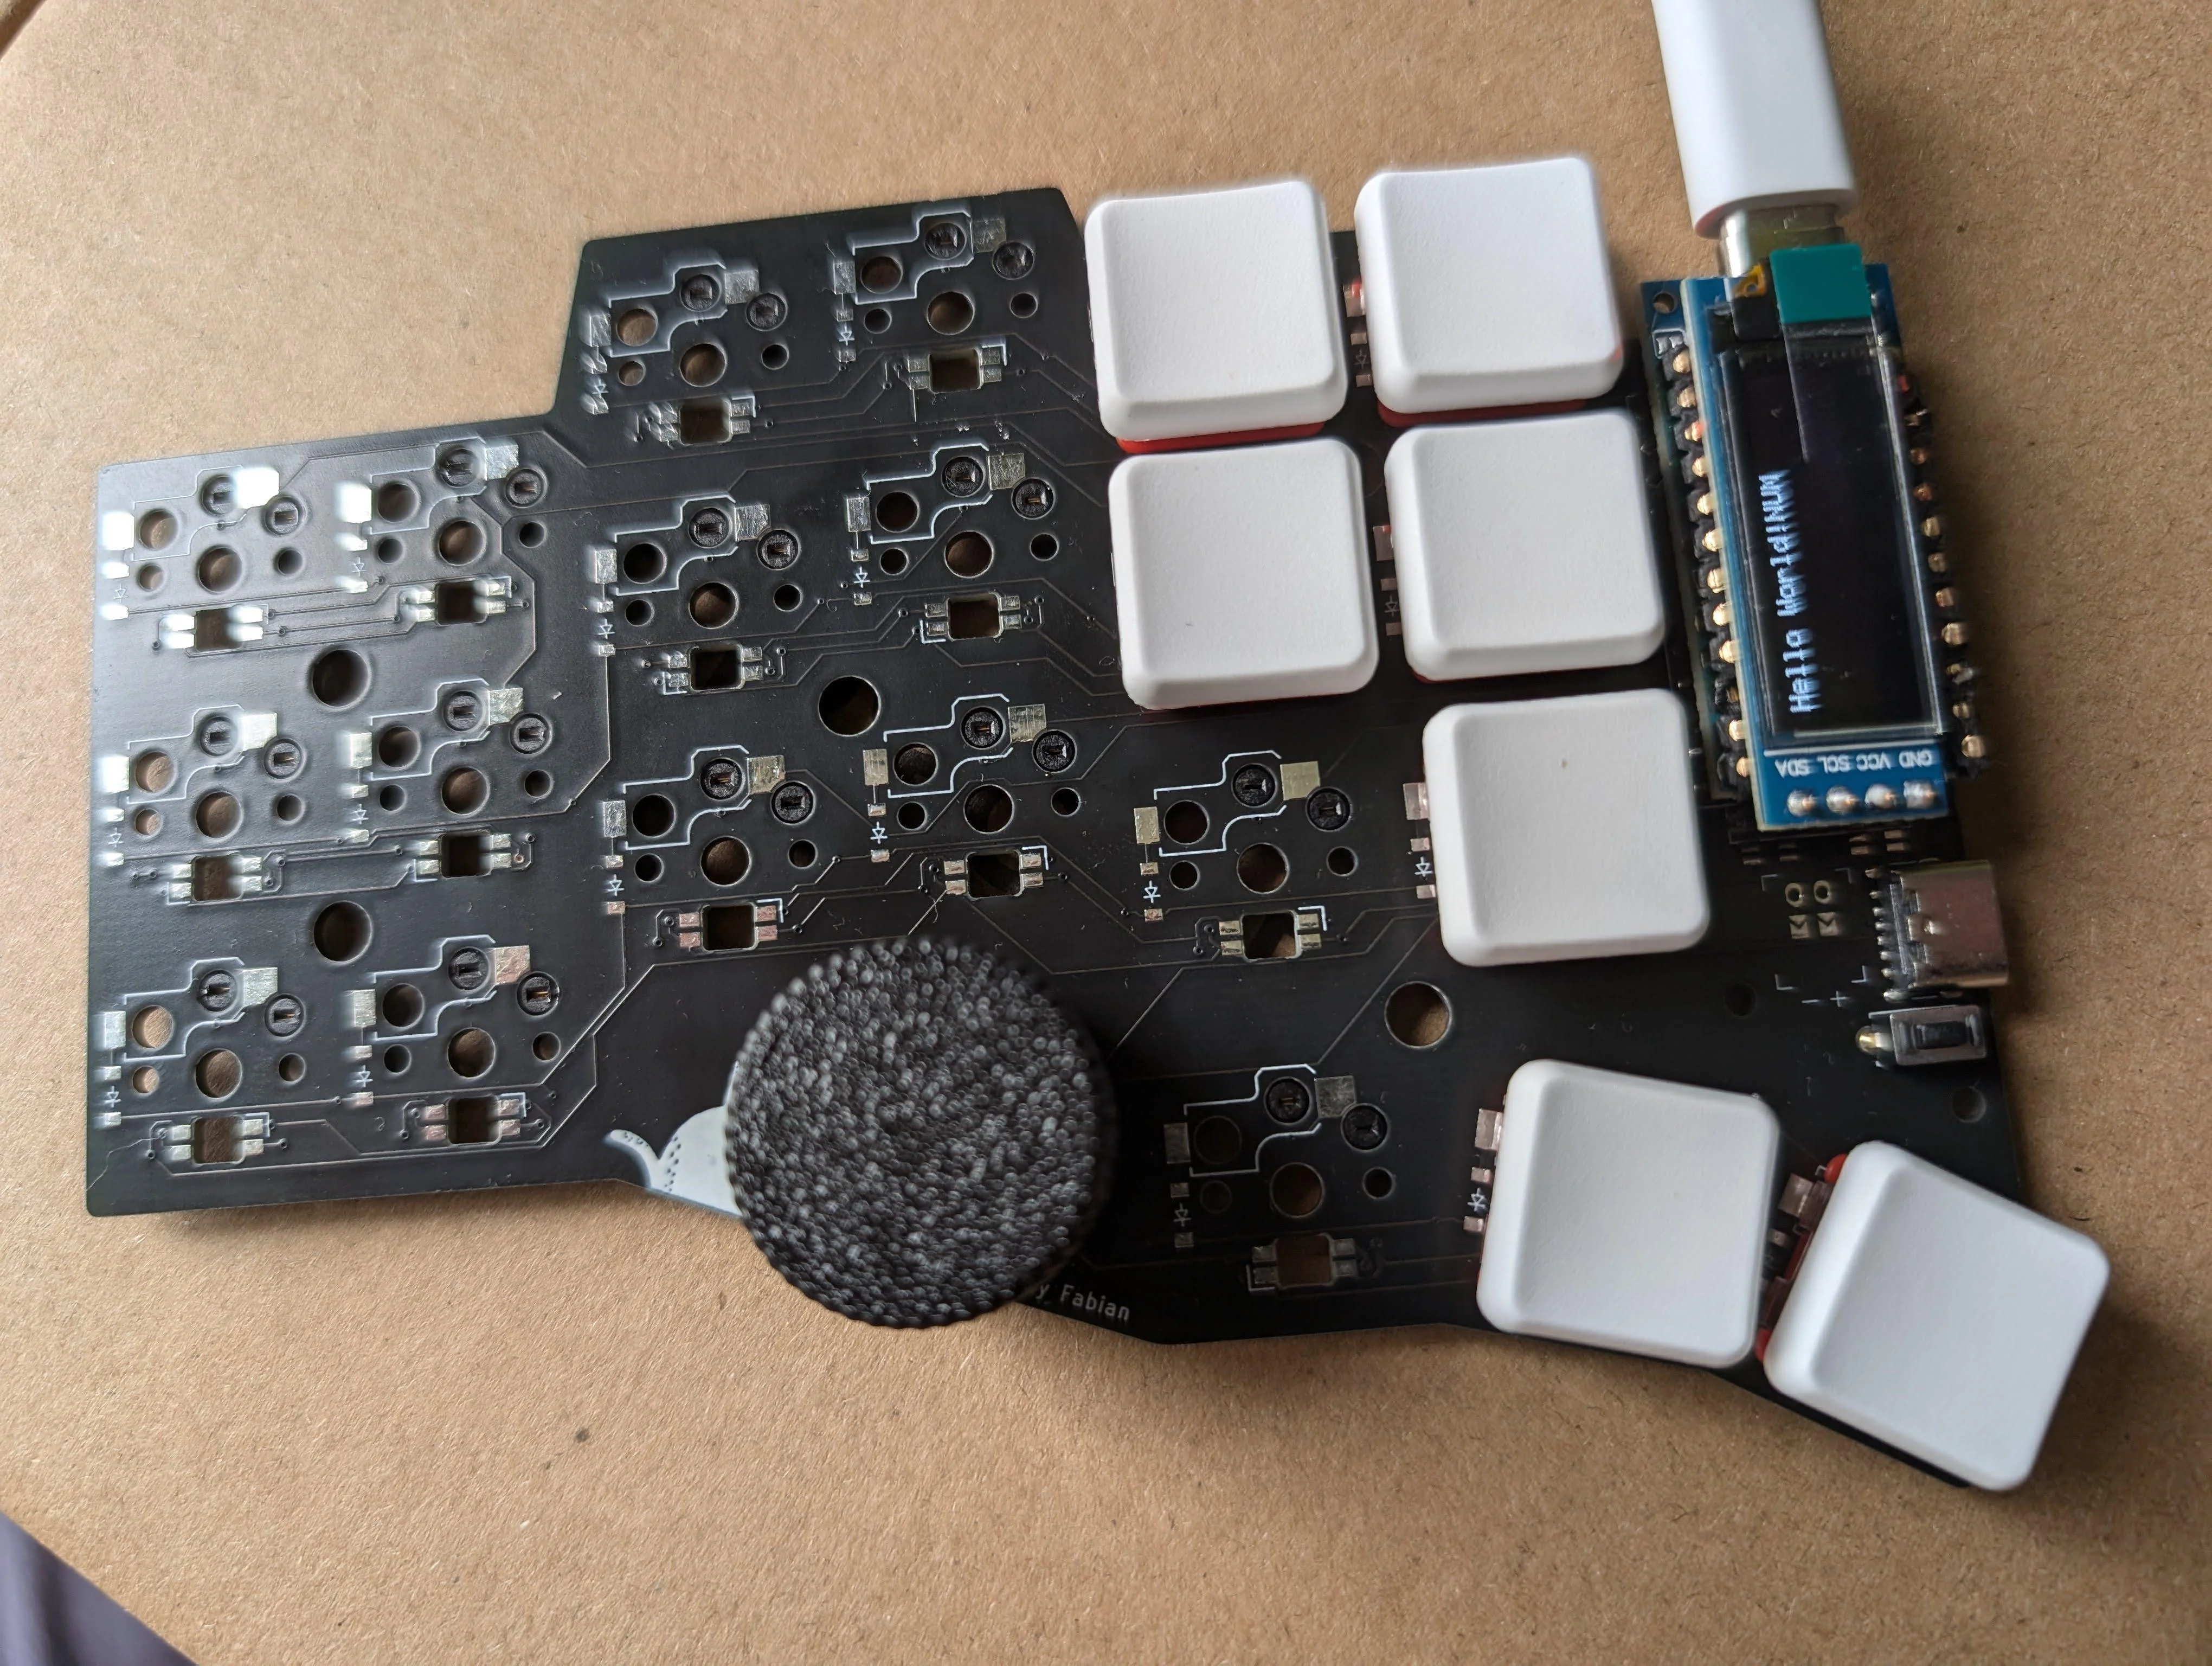
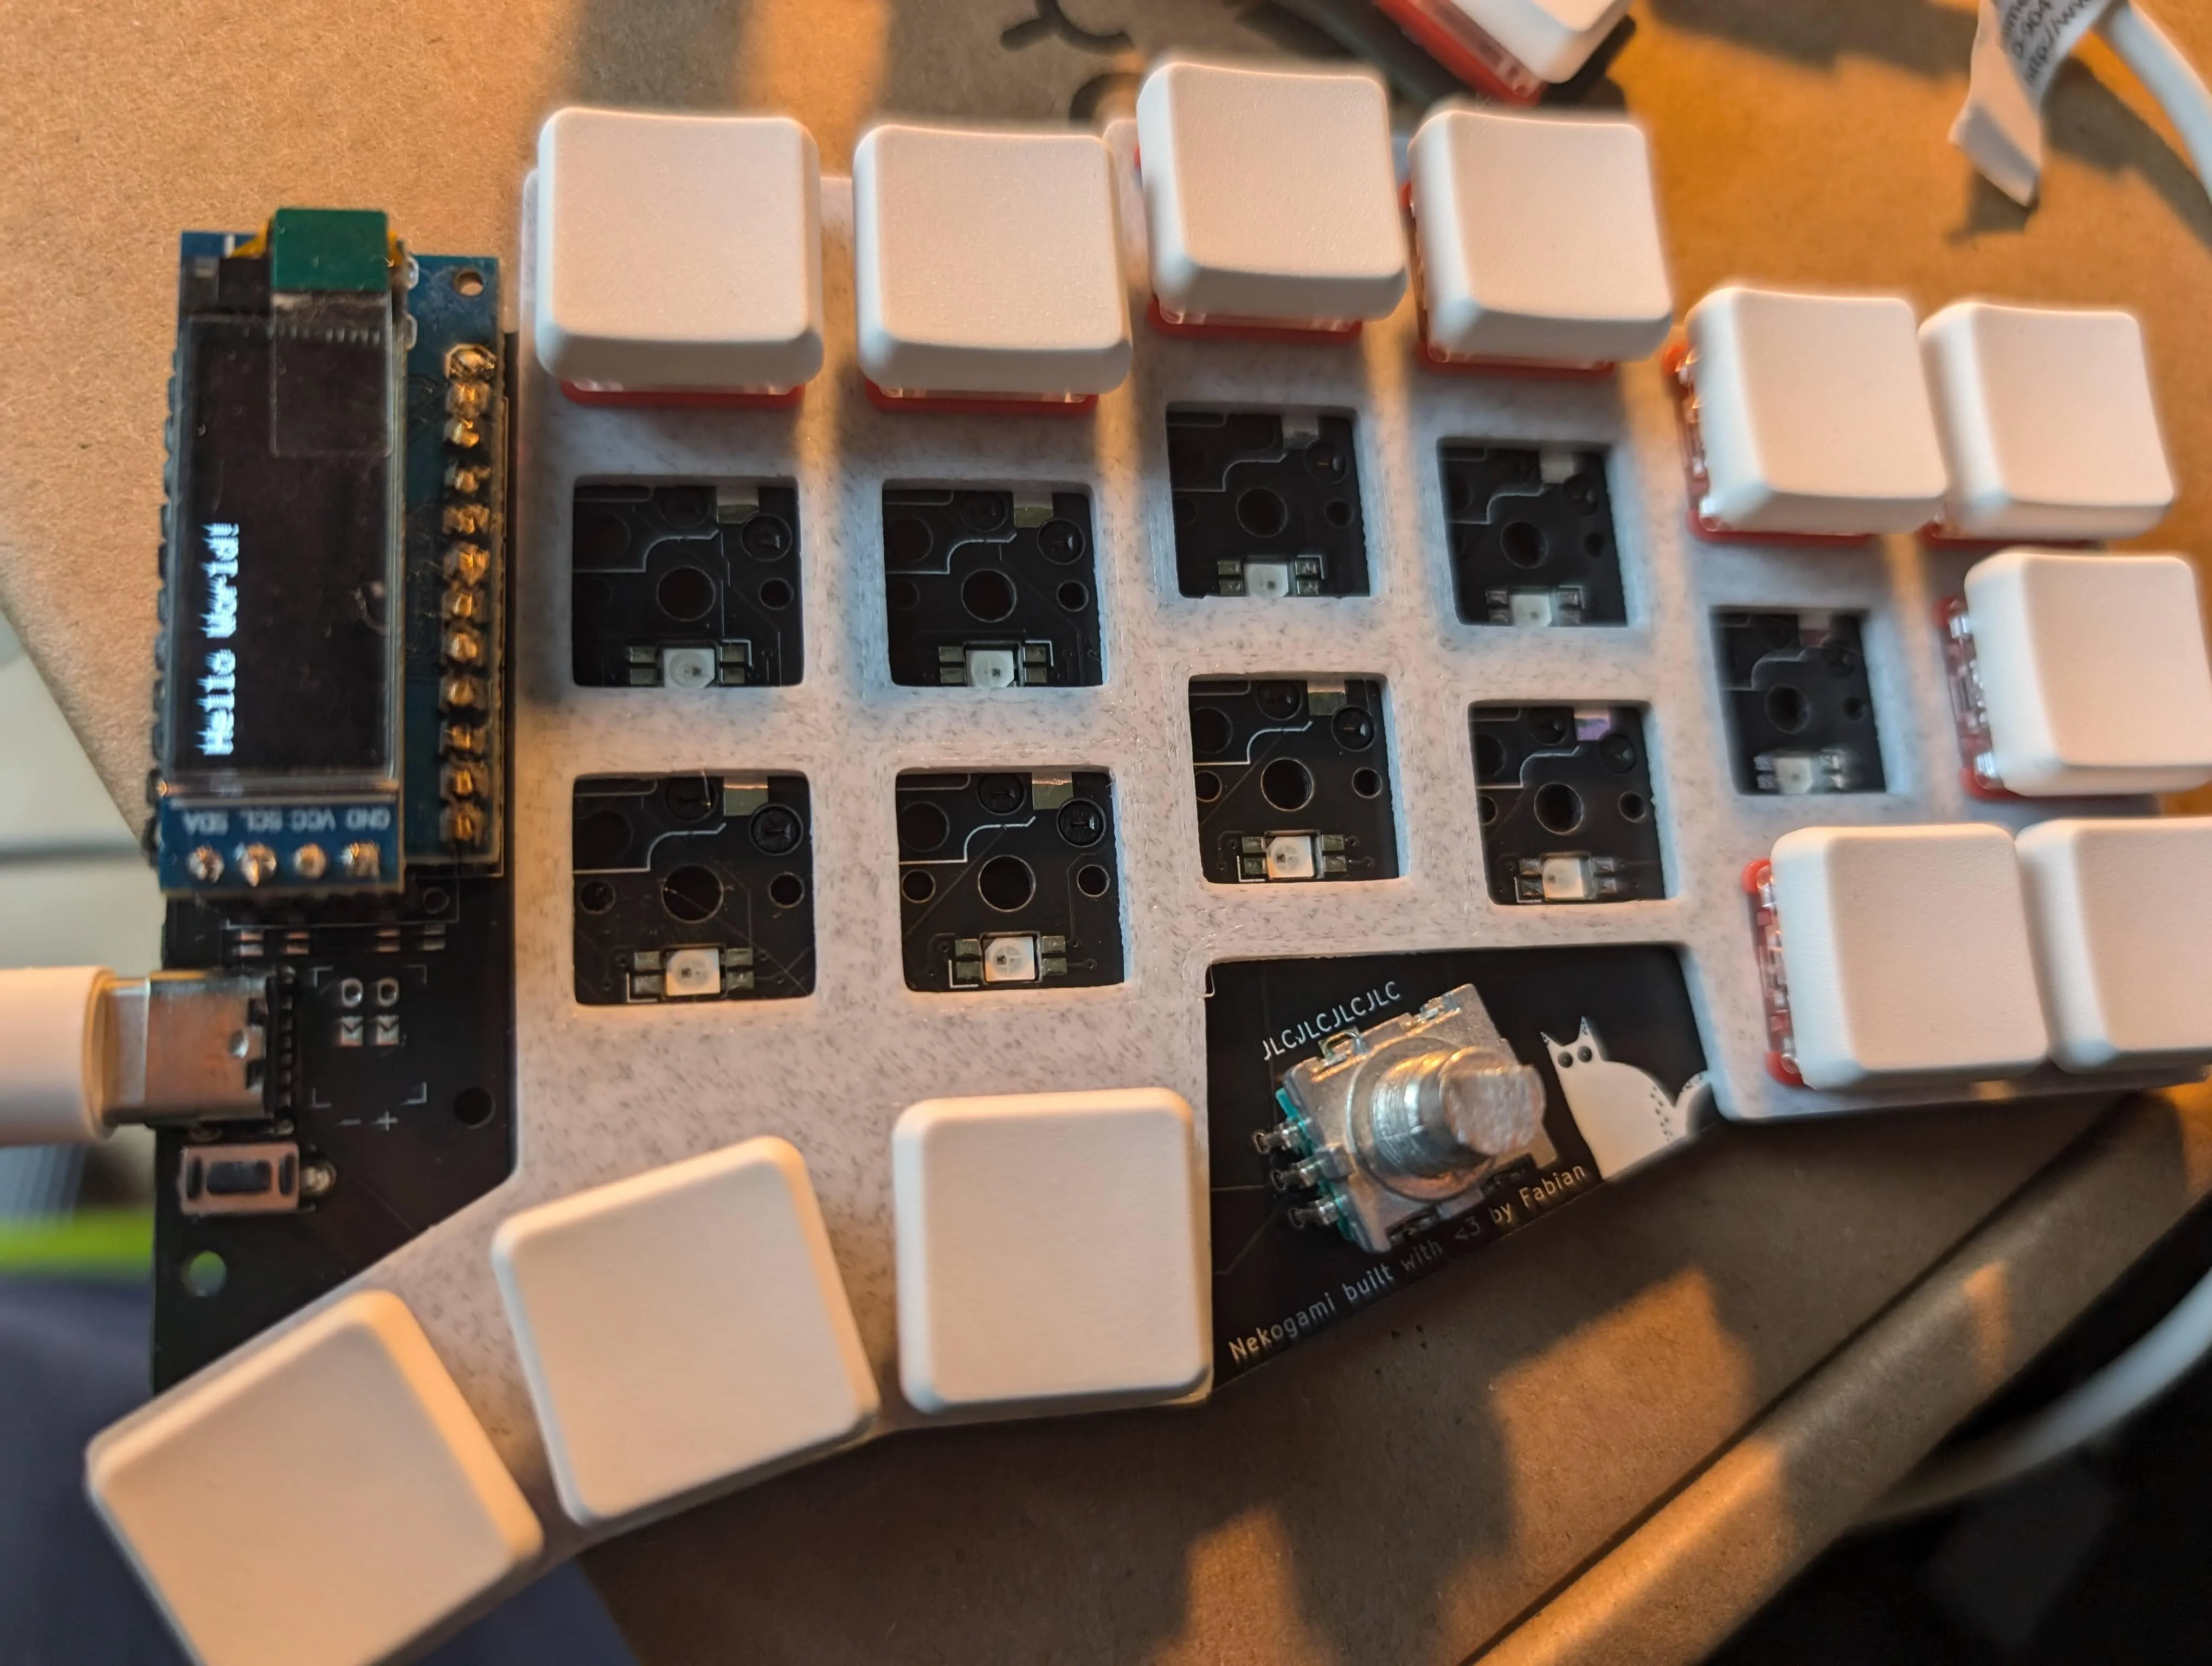
- 2 encoders (sawed off the top of the EC11 so it doesn’t stand out too much)
- Layout which works well for my hands (corne was too small for my hands/thumb positions)
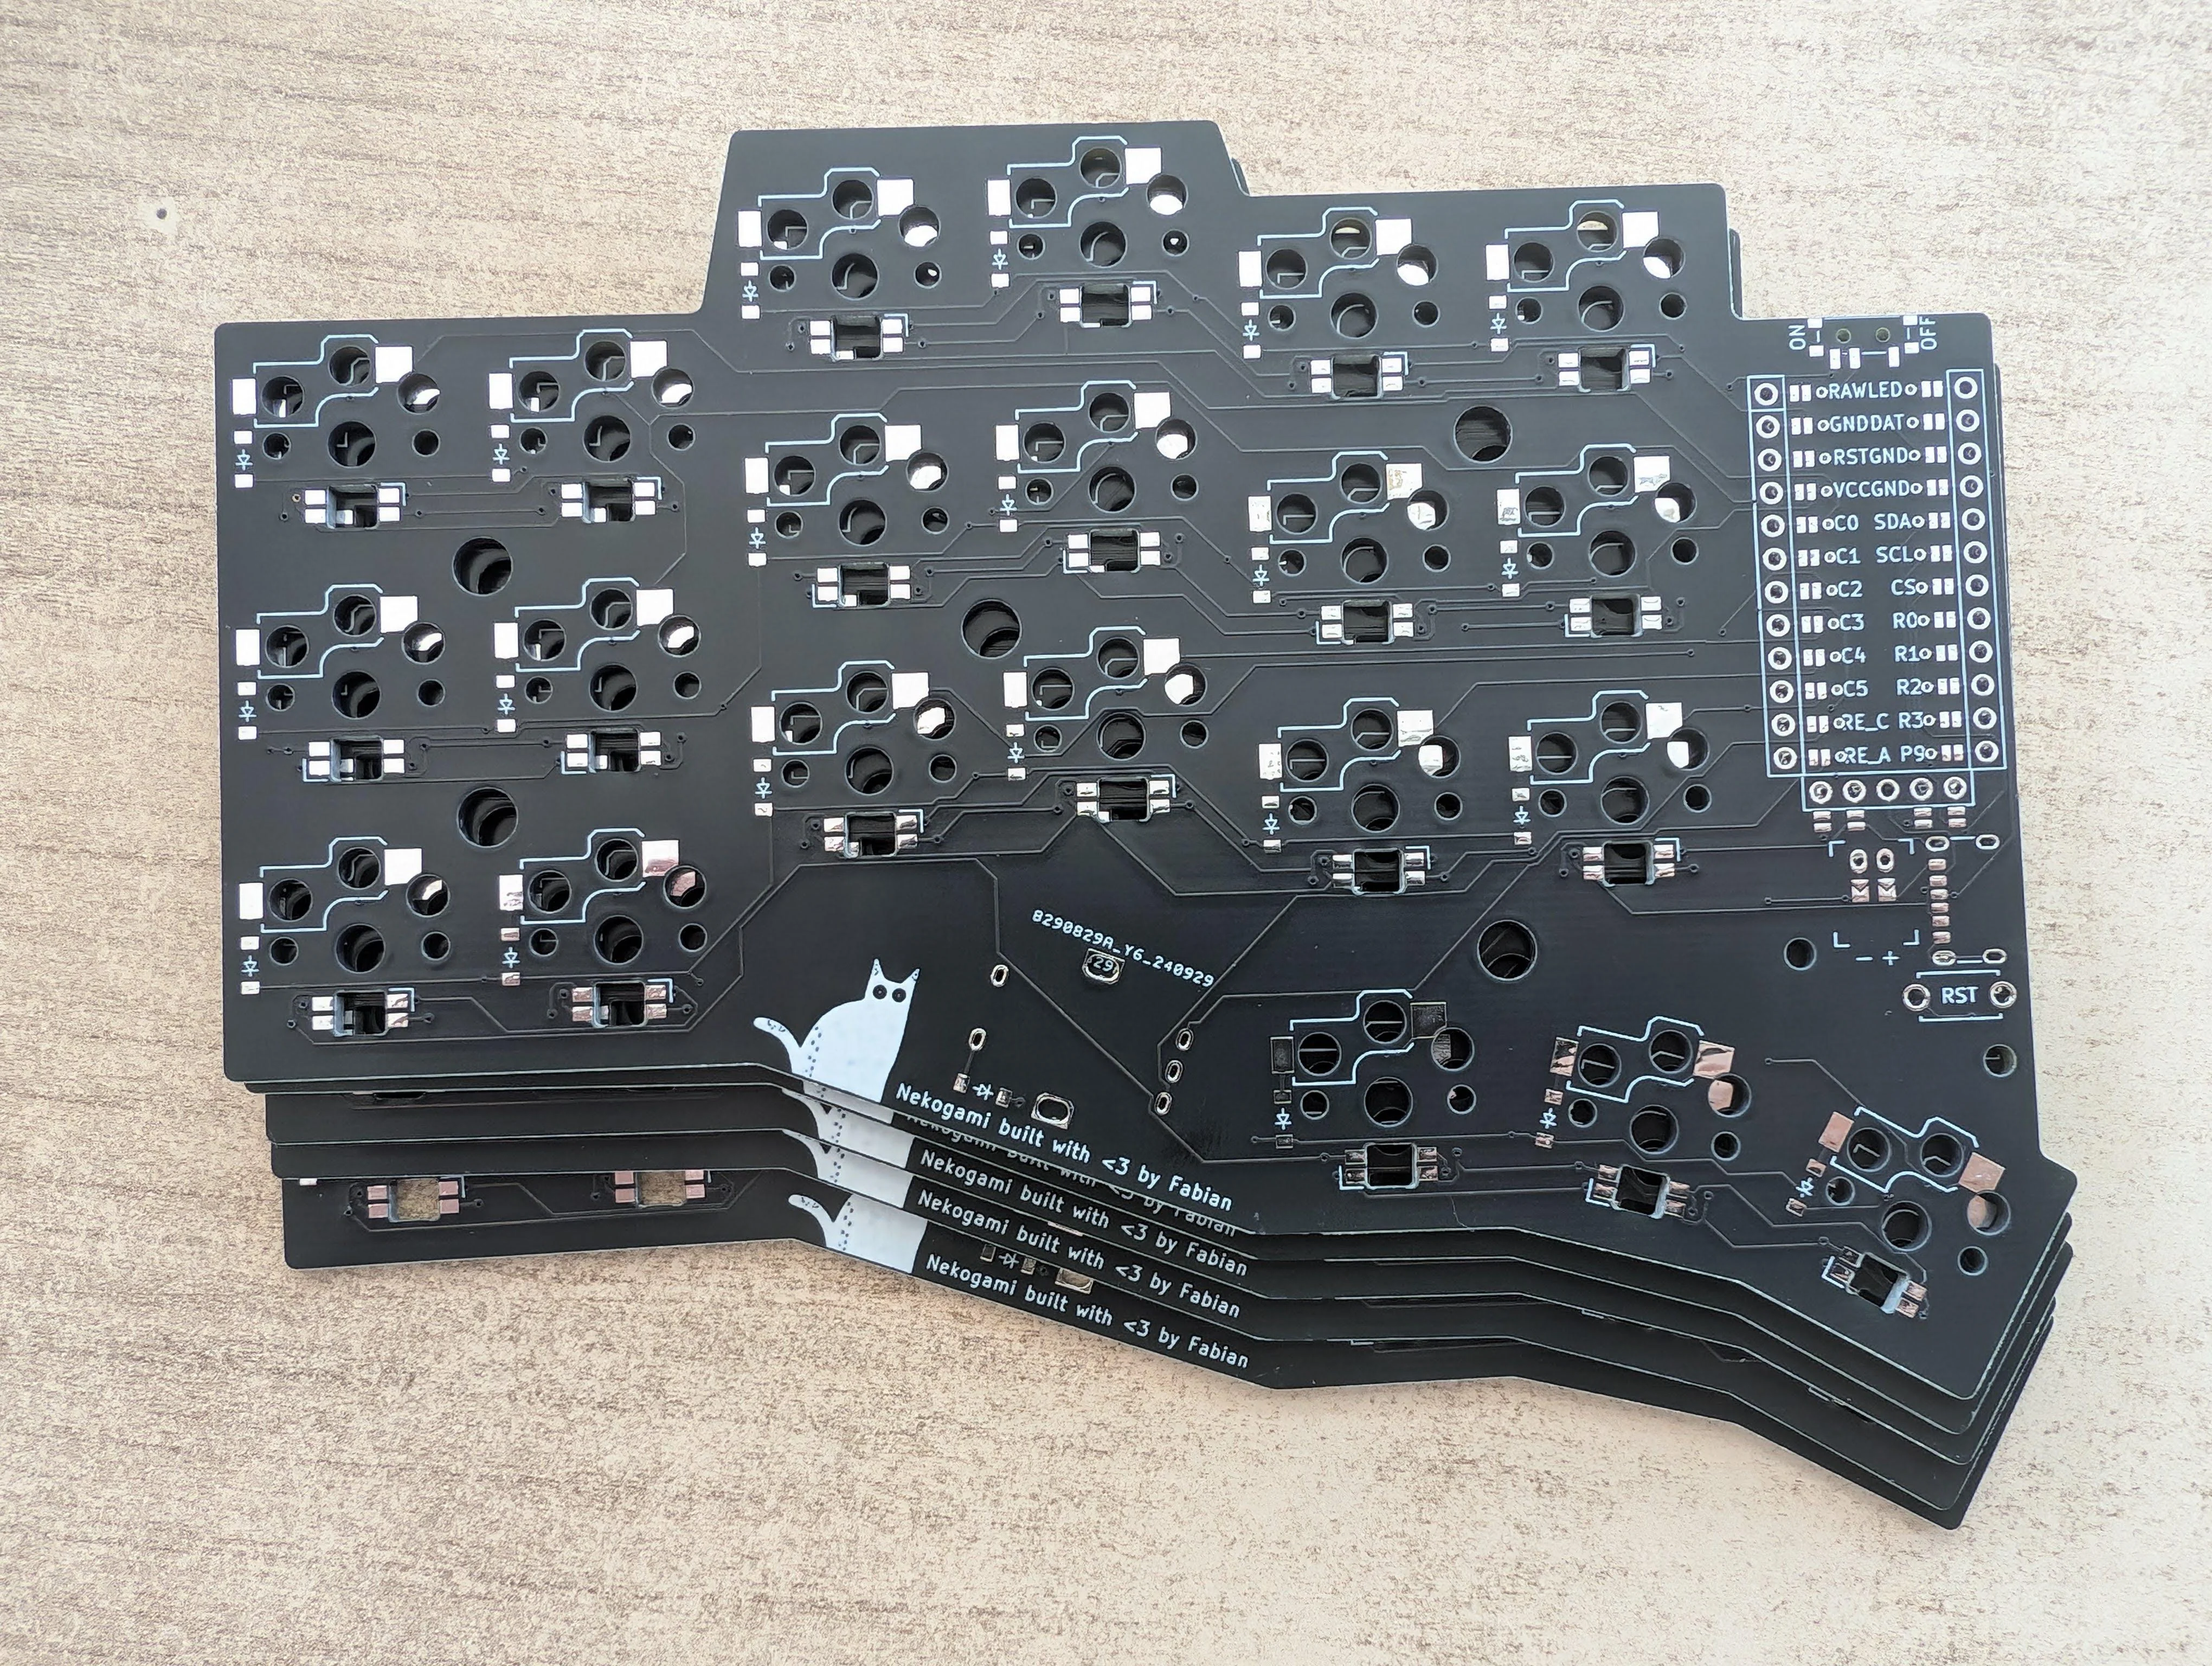
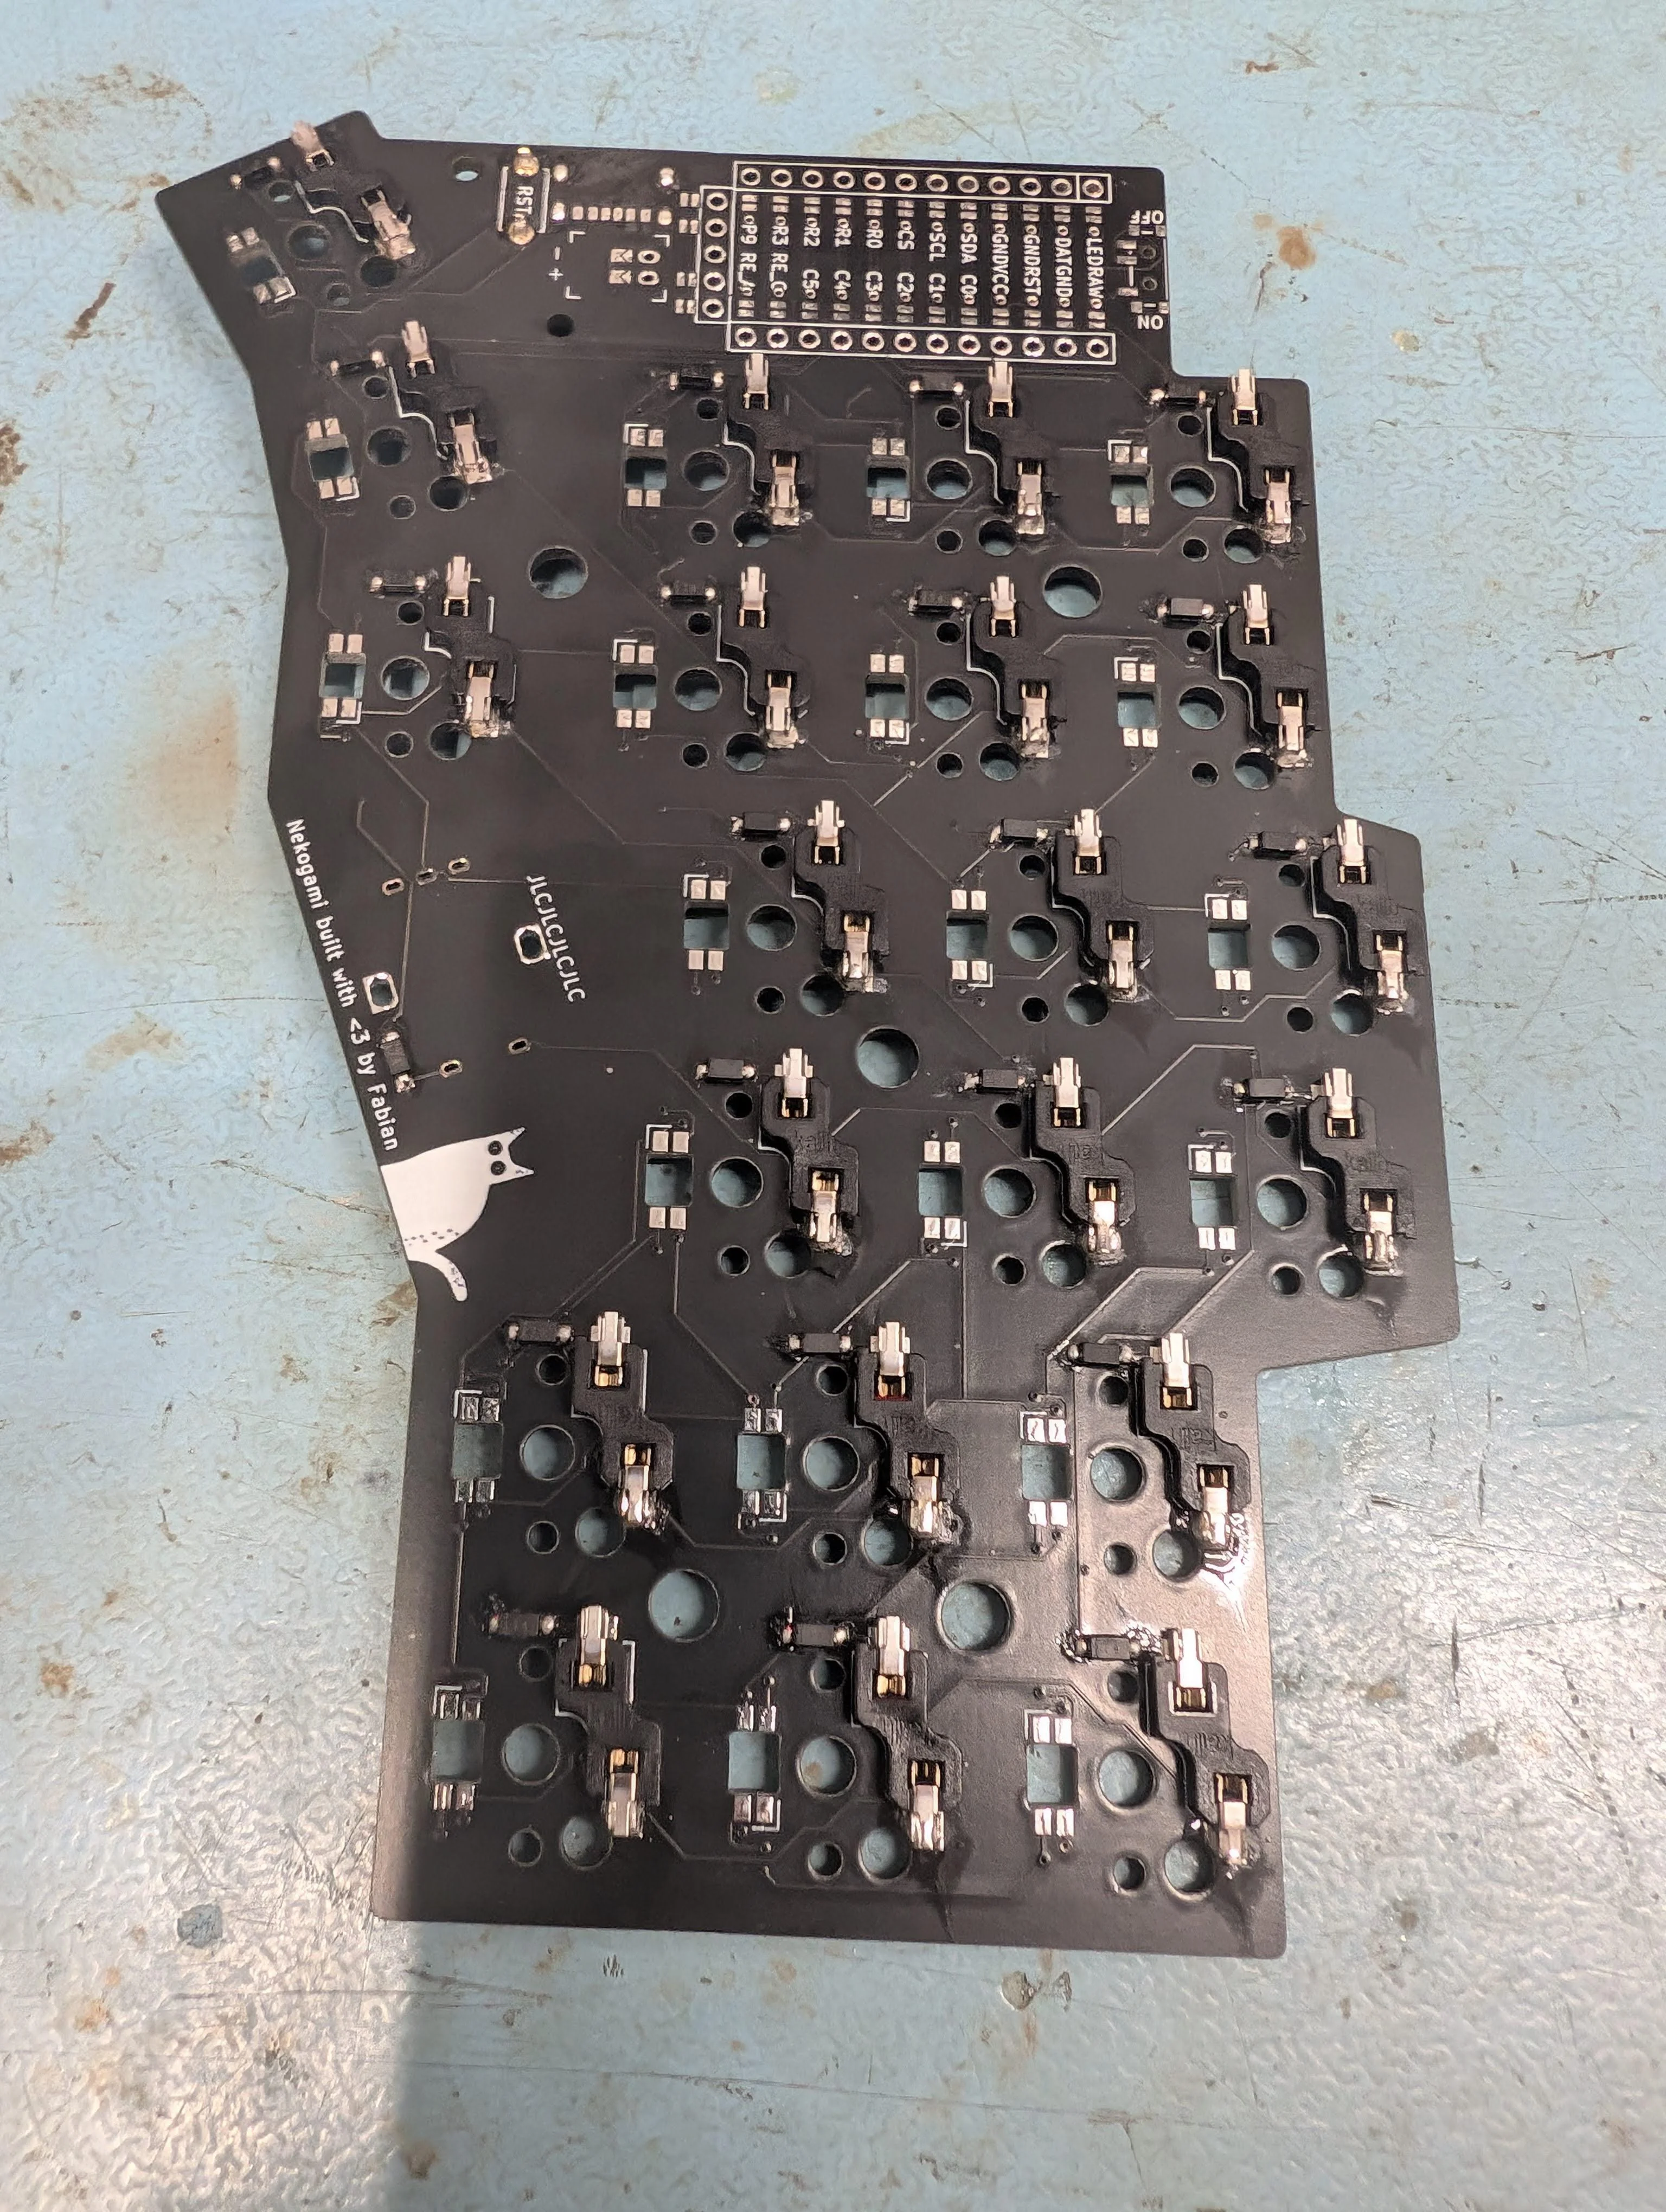
- PCB designed to work wired and wireless (might aswell as the minimum QTY at JLC is 5)
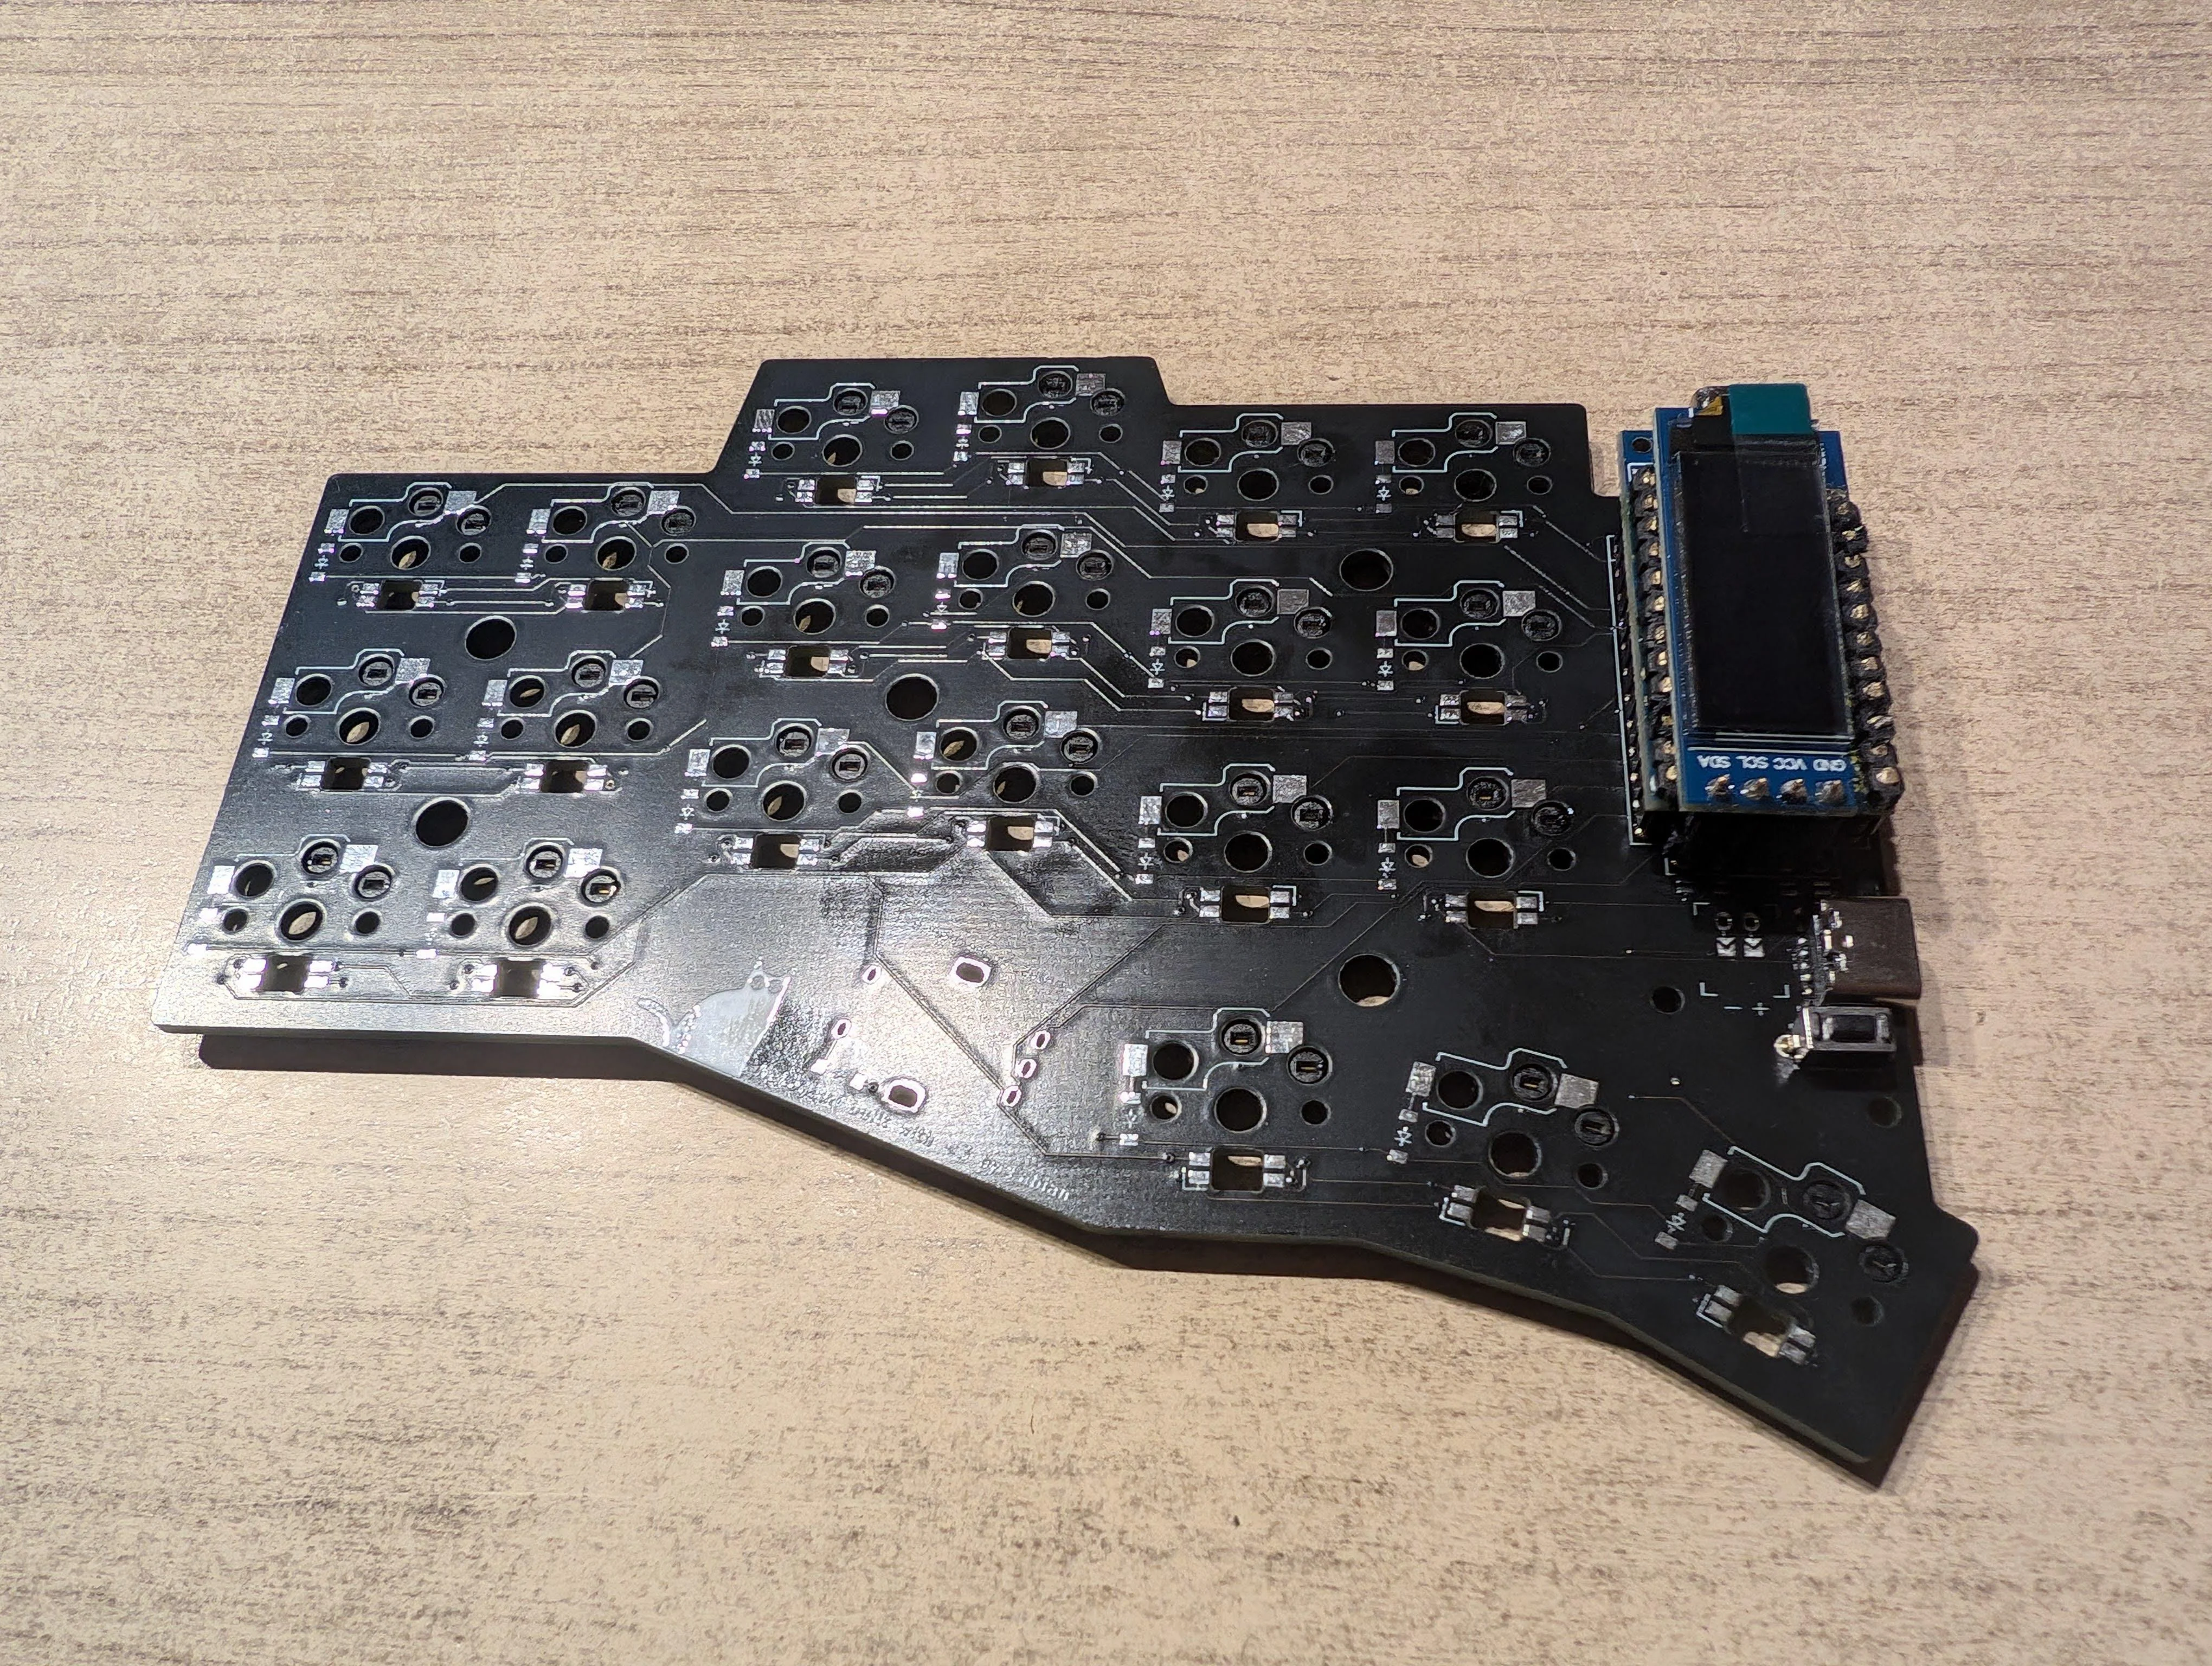
- ProMicro and OLED for this wired version
- fully generated using Ergogen (PCB and case)
- with OpenSCAD used for the encoder knob
Total price paid for everything: 99.28€
Effective price per 2 built halves: 66€ (just summing (price per part * qty needed))
+ AliExpress deals (like 10 oleds for 2.61€, thanks AliExpress lol)
- bought way more of most components than needed (to be safe, or because its actually cheaper)
+ got the keycaps and switches when I was on vacation in Japan, so they were quite cheap aswell
Learned a lot, especially that the ergogen docs definetely lack quite a bit, figured out some easier ways by looking at the source code. There are a bunch of mistakes and issues with the current design, but it works and every issue is documented for a future V2 ;P
Some issues / improvements
- case warping a bit and not aligning perfectly
- move controller to the bottom so the OLED can sit lower
- don’t use these round pin headers ever again, it was hell to get pins soldered to the MCU for hotswap and they are taller than the square ones
- Ergogen felt like it made the process harder than easier, everything is relative, some operations work differently than one might expect (like expanding negative, then subtracting the same thing with positive expand will result in the final part being shrinked and expanded, not just the subtracting object)
- KiCad automation sucks, there are some Docker images to automate stuff like Gerber generation, but these use a virtual display and click on the menus (how the hell isn’t there a better KiCad CLI nowadays)
- I actually started to build a Nix wrapper for Ergogen so that I can define the keyboard in Nix and it generates the YAML for Ergogen because my single config.yaml is currently more than 1300 lines. Then I got annoyed even more by Ergogen and started replacing Ergogen with Nix. For now I’m mentally done with the project, but in the future, for V2, I’d definetely continue there first
But I think for my first time it went pretty well :D
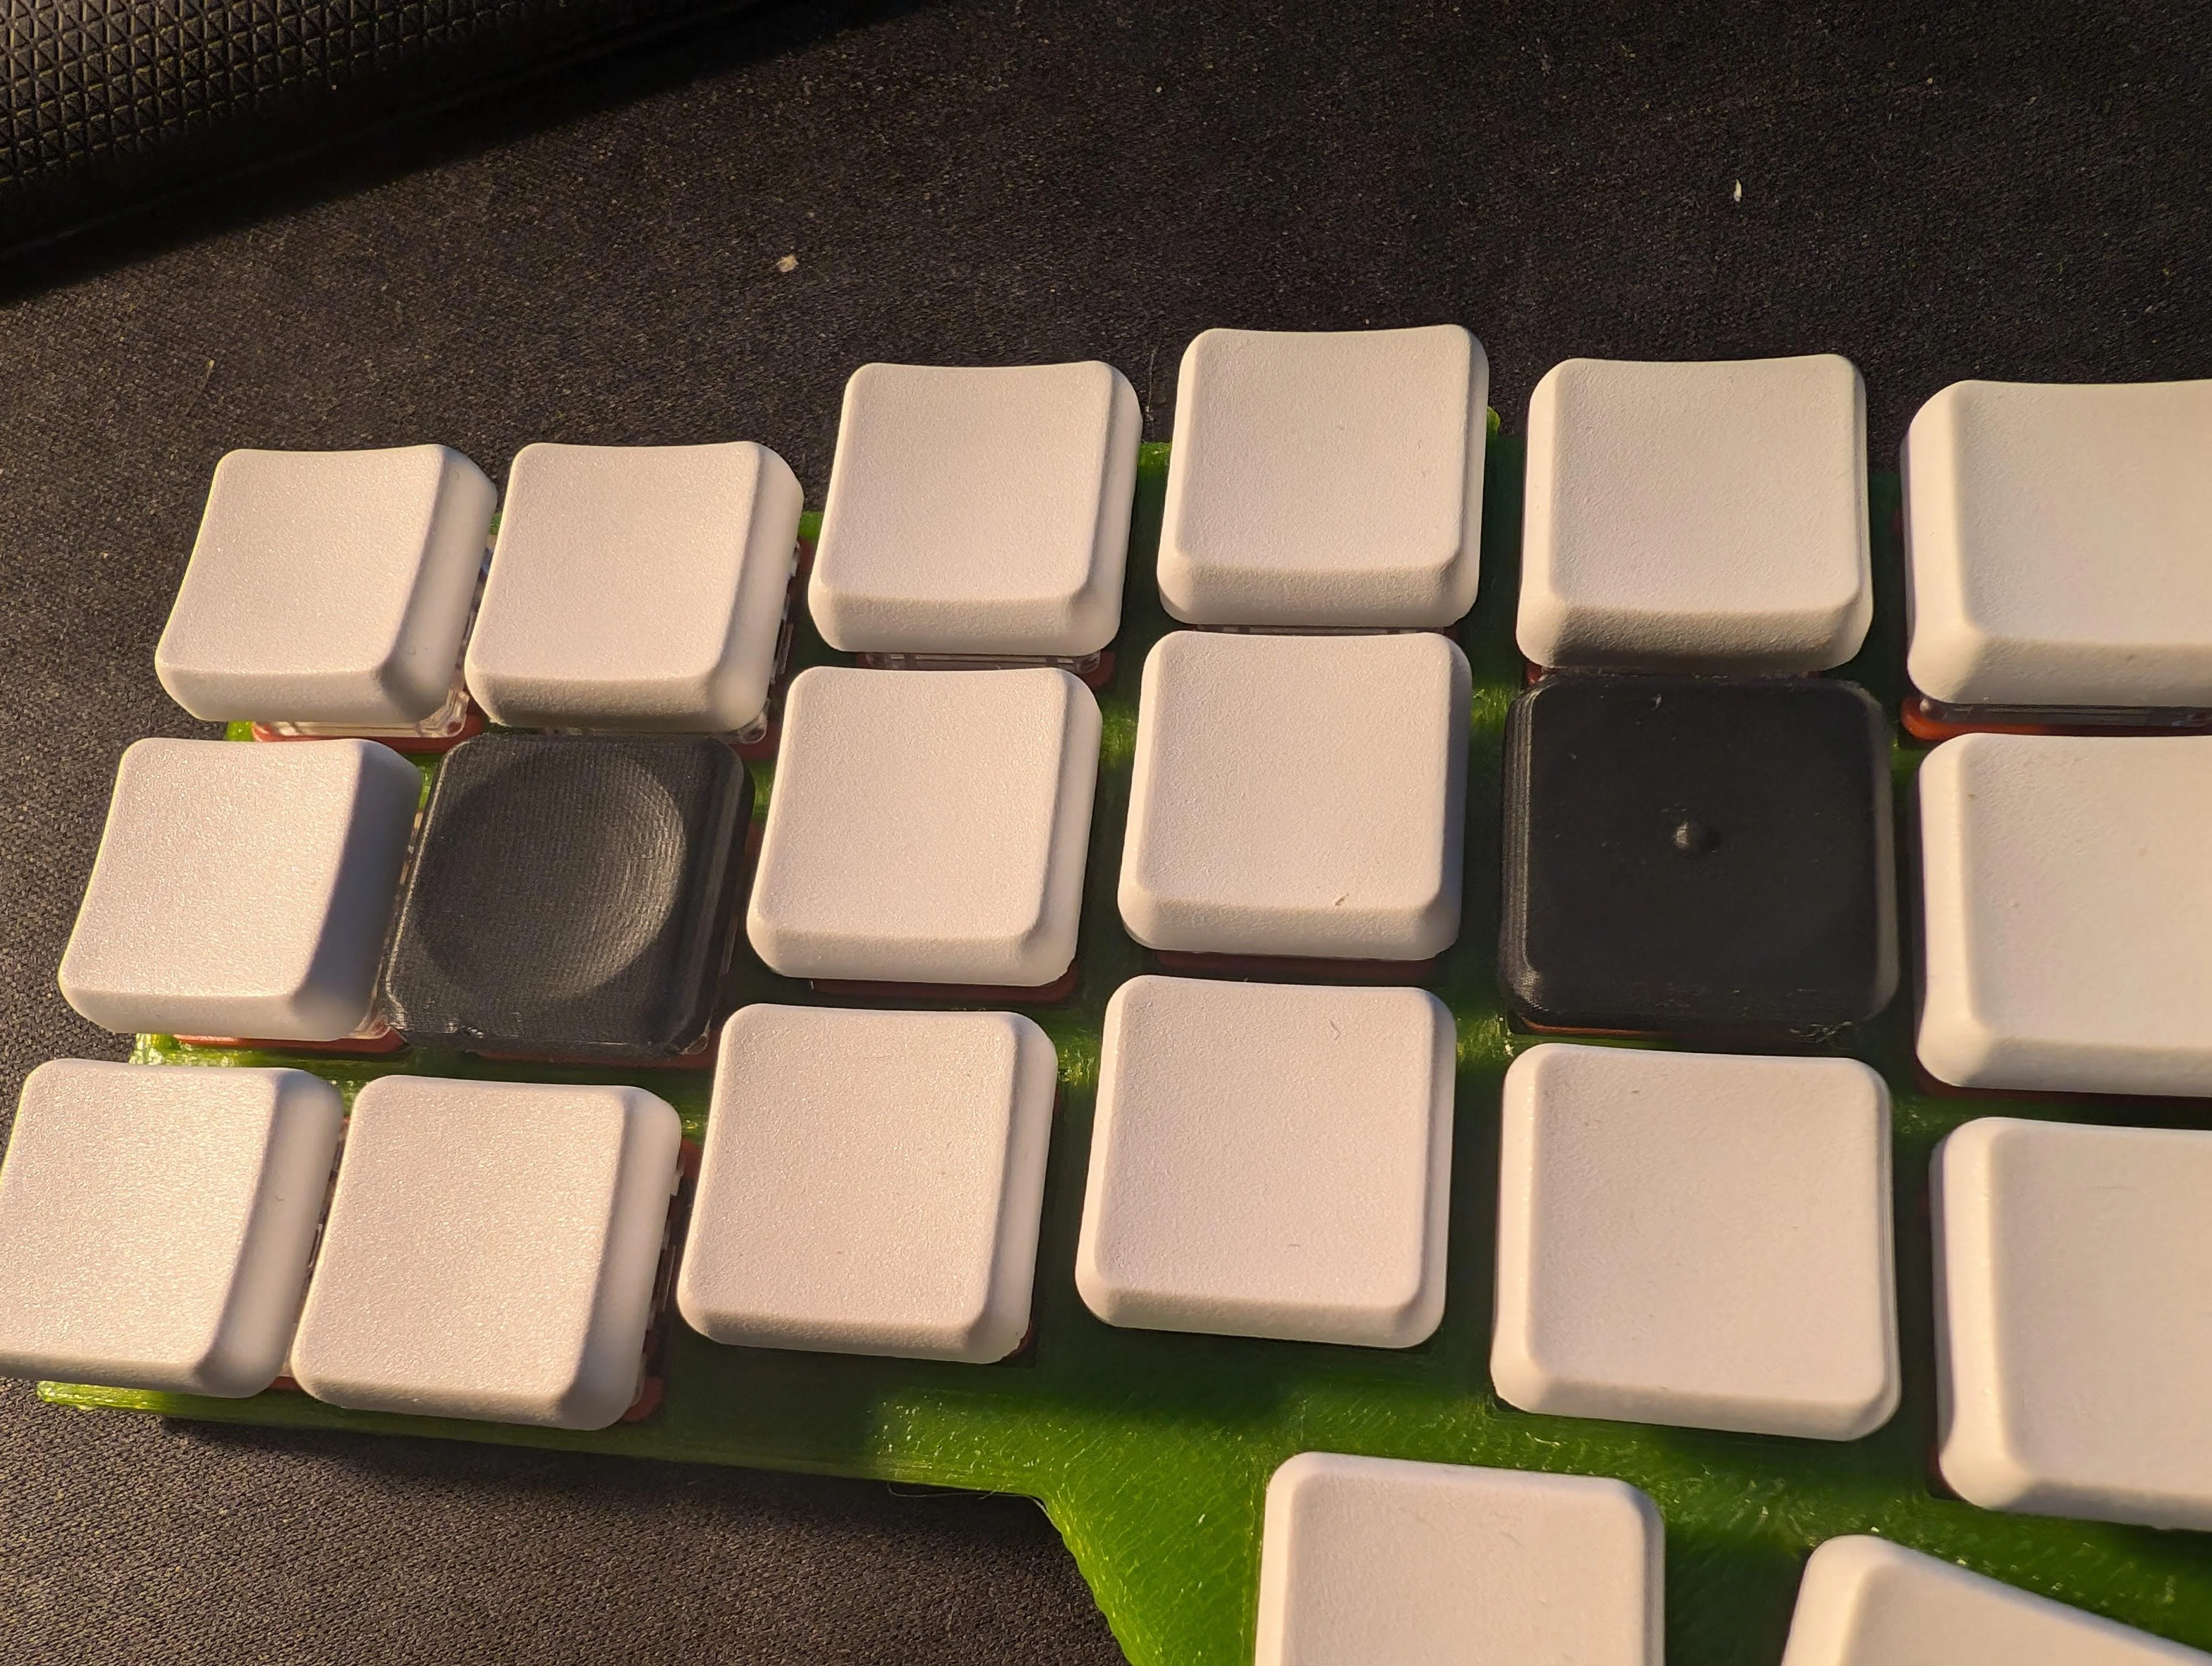
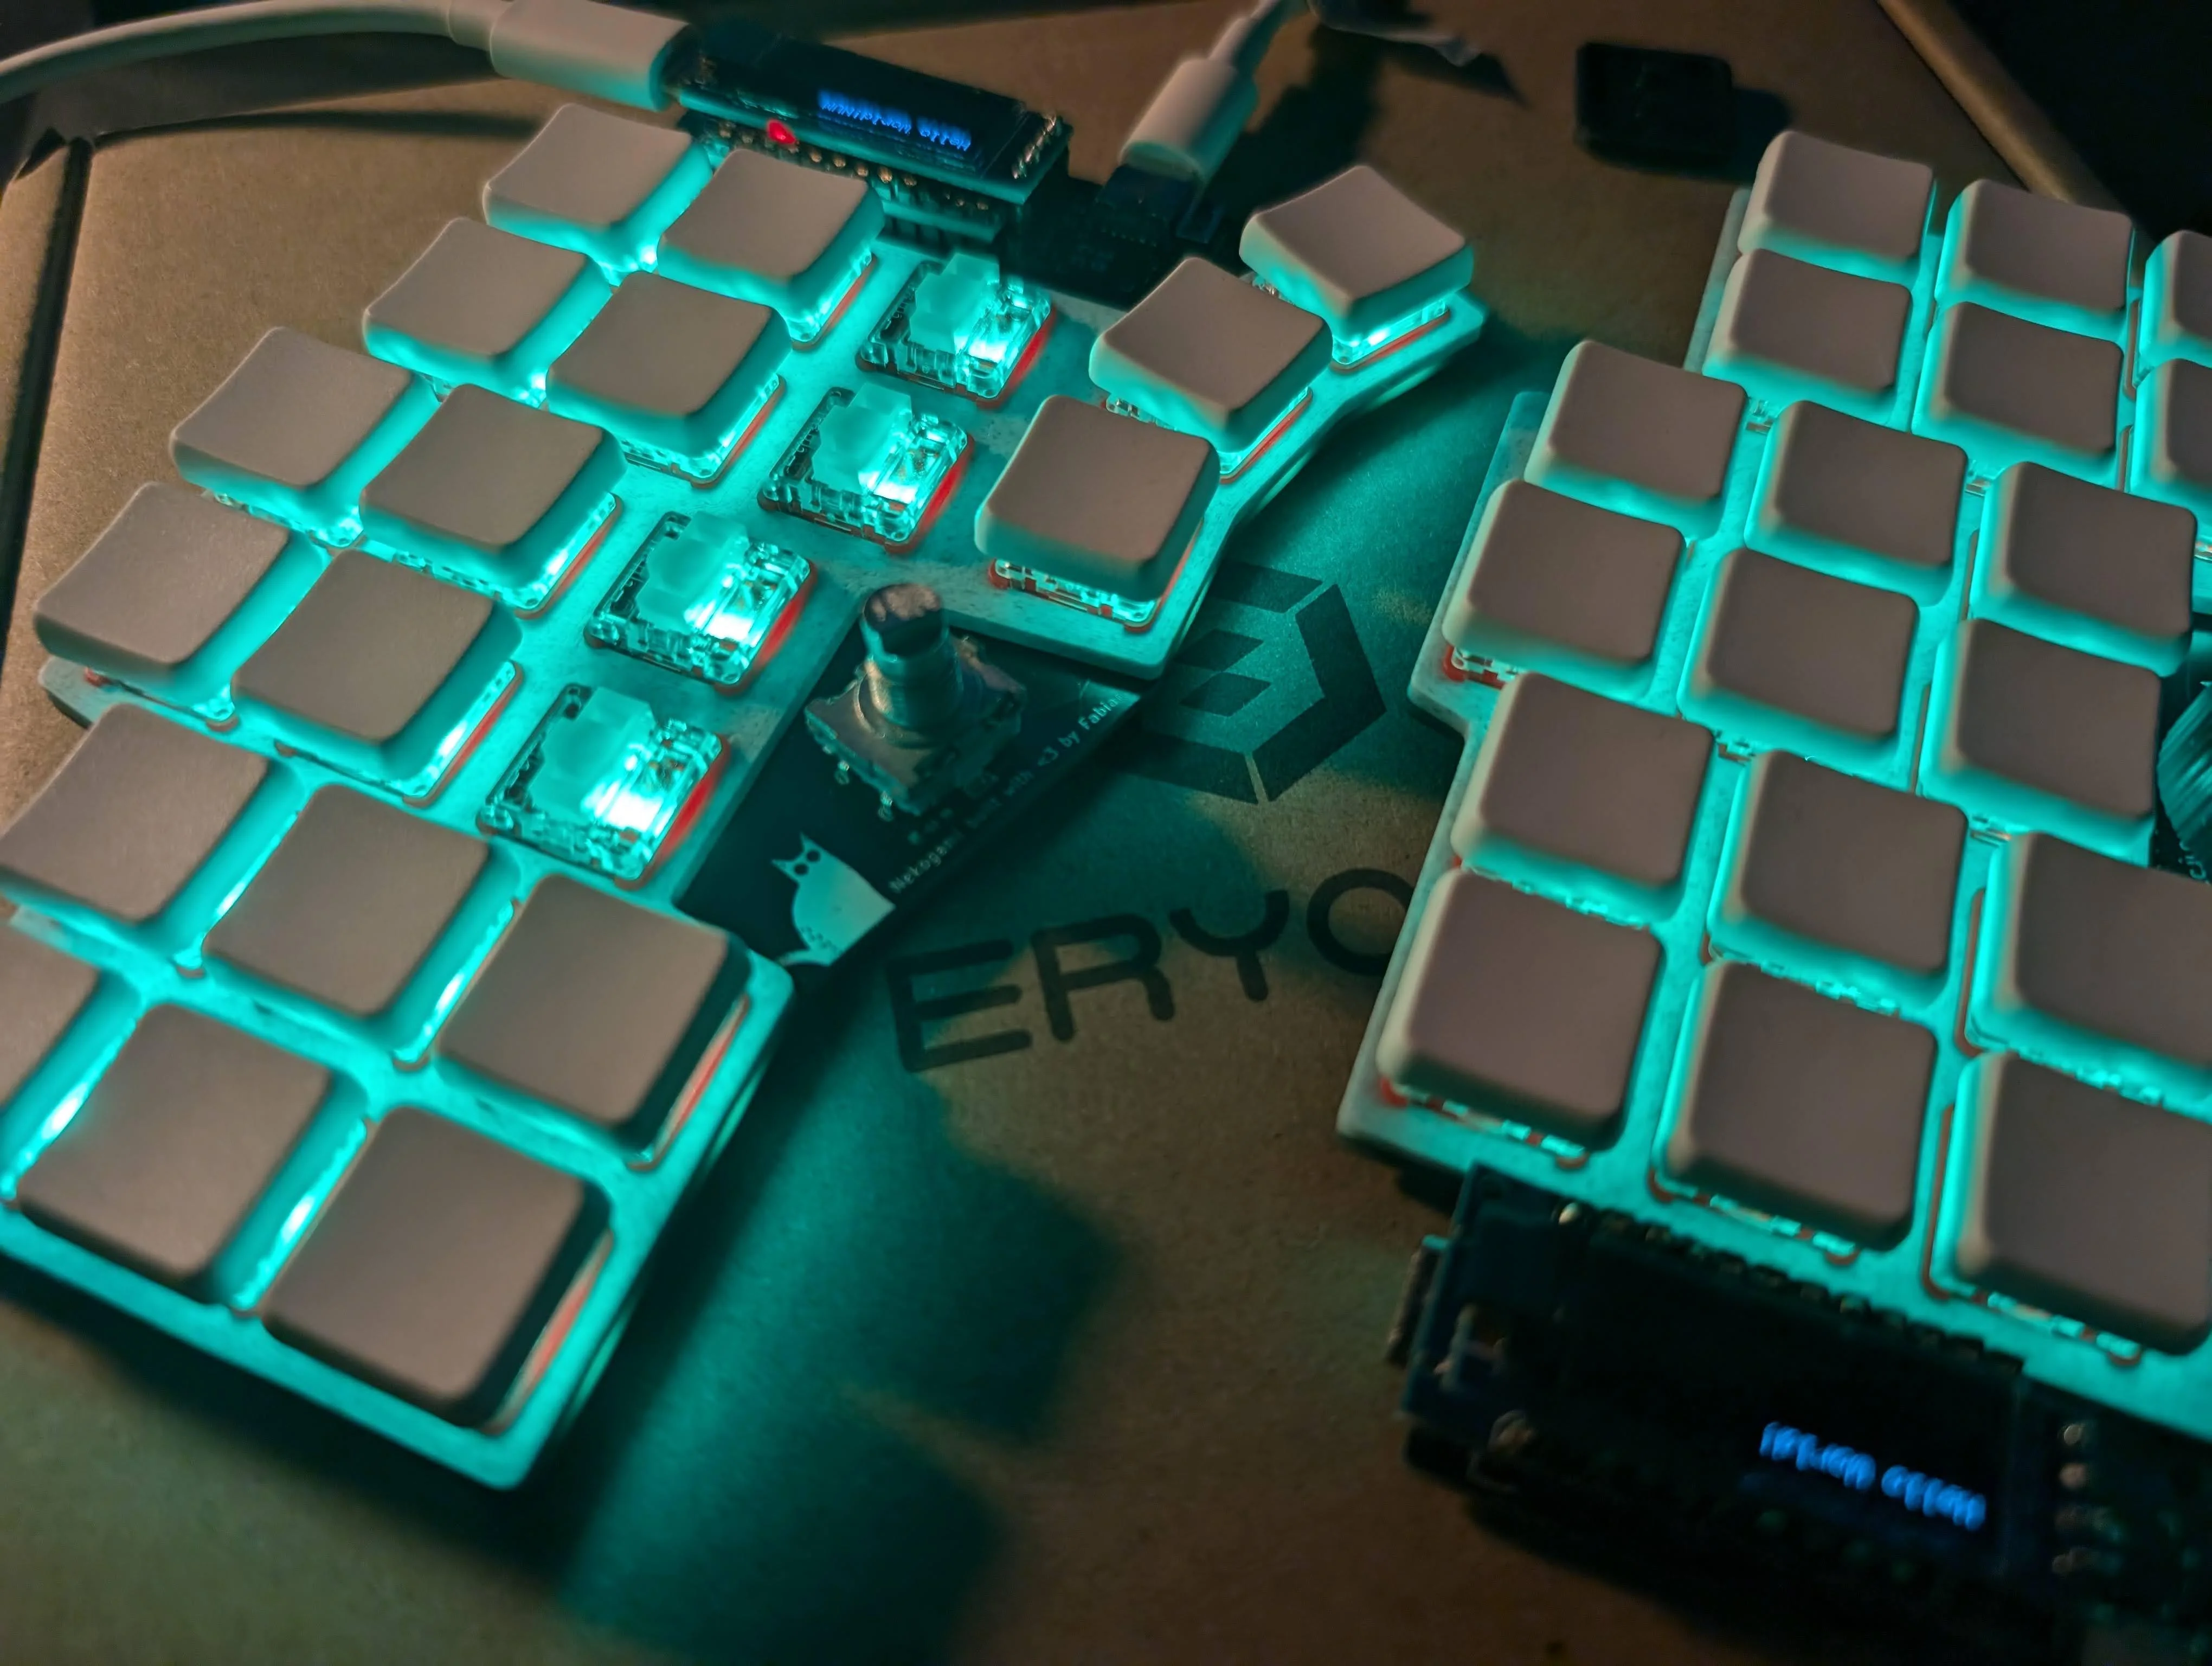
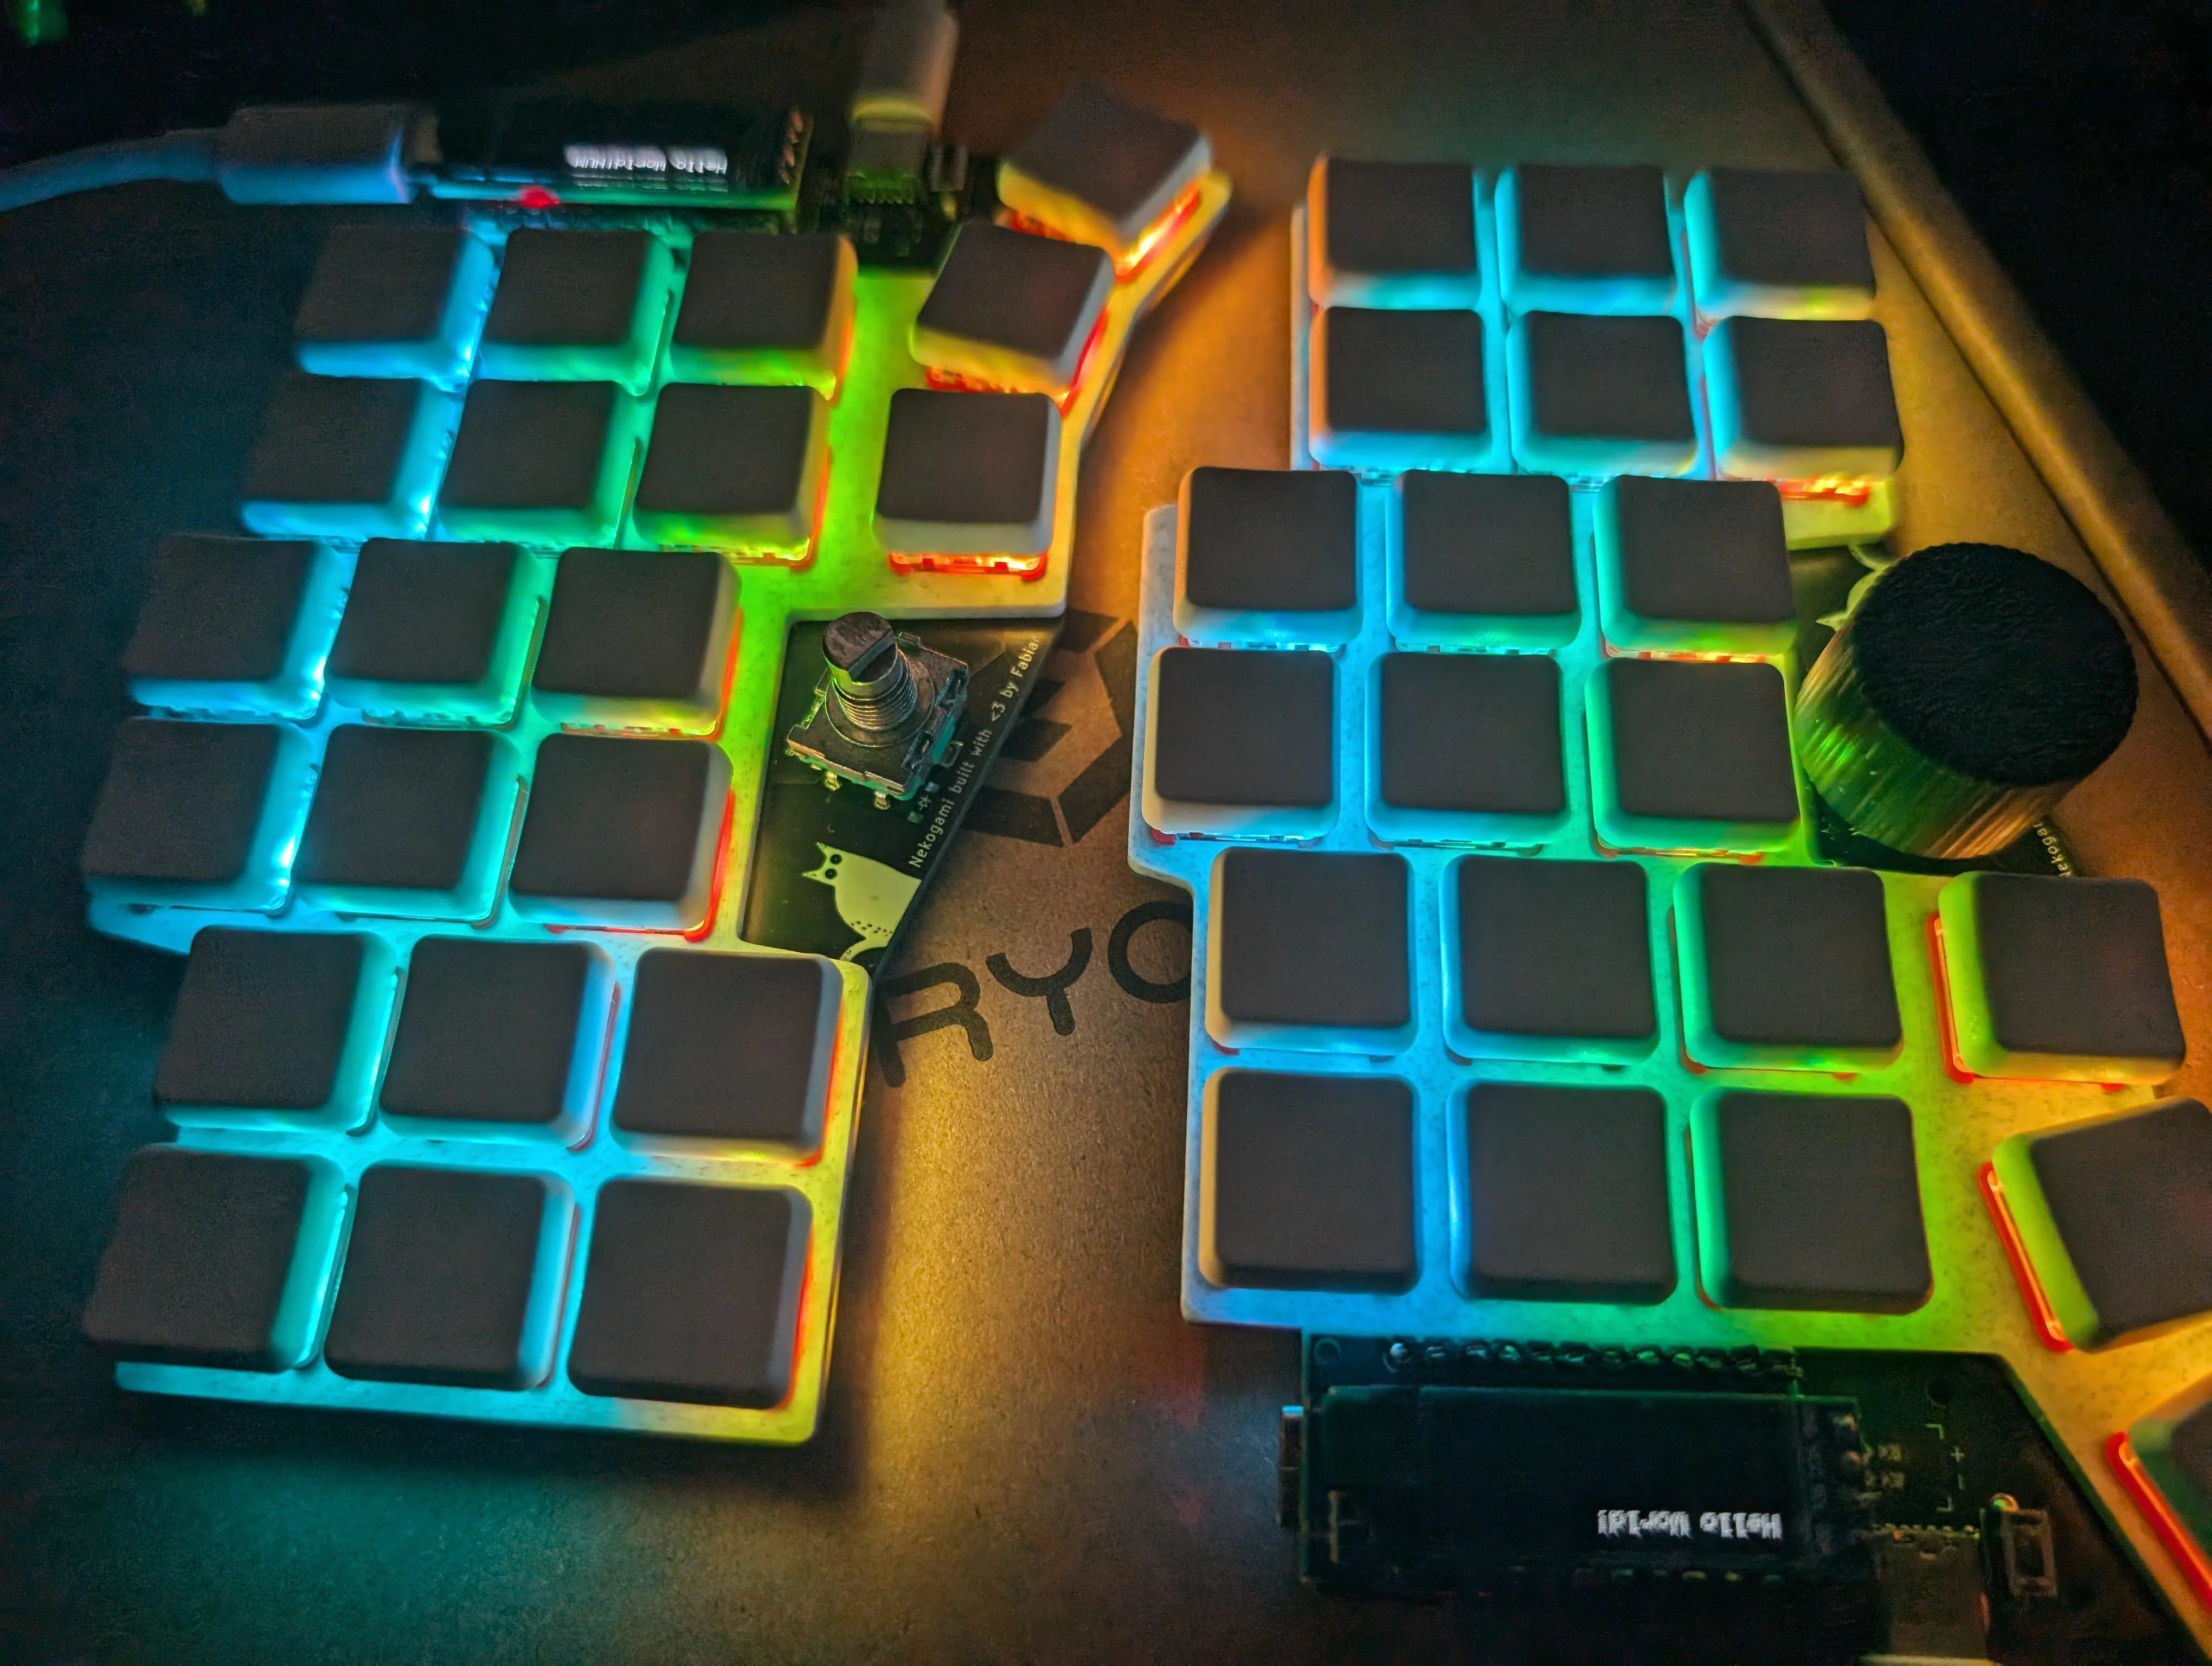
I also tried 3d printing some keycaps (tried with black) and it worked quite well, so I might switch them out with white 3d printed ones (these should also allow the RGBs to shine through, not sure if it looks better or worse)
Images
Source
It’s ugly and I haven’t really cleaned it up, but here is the sourcecode.
Originally on Reddit